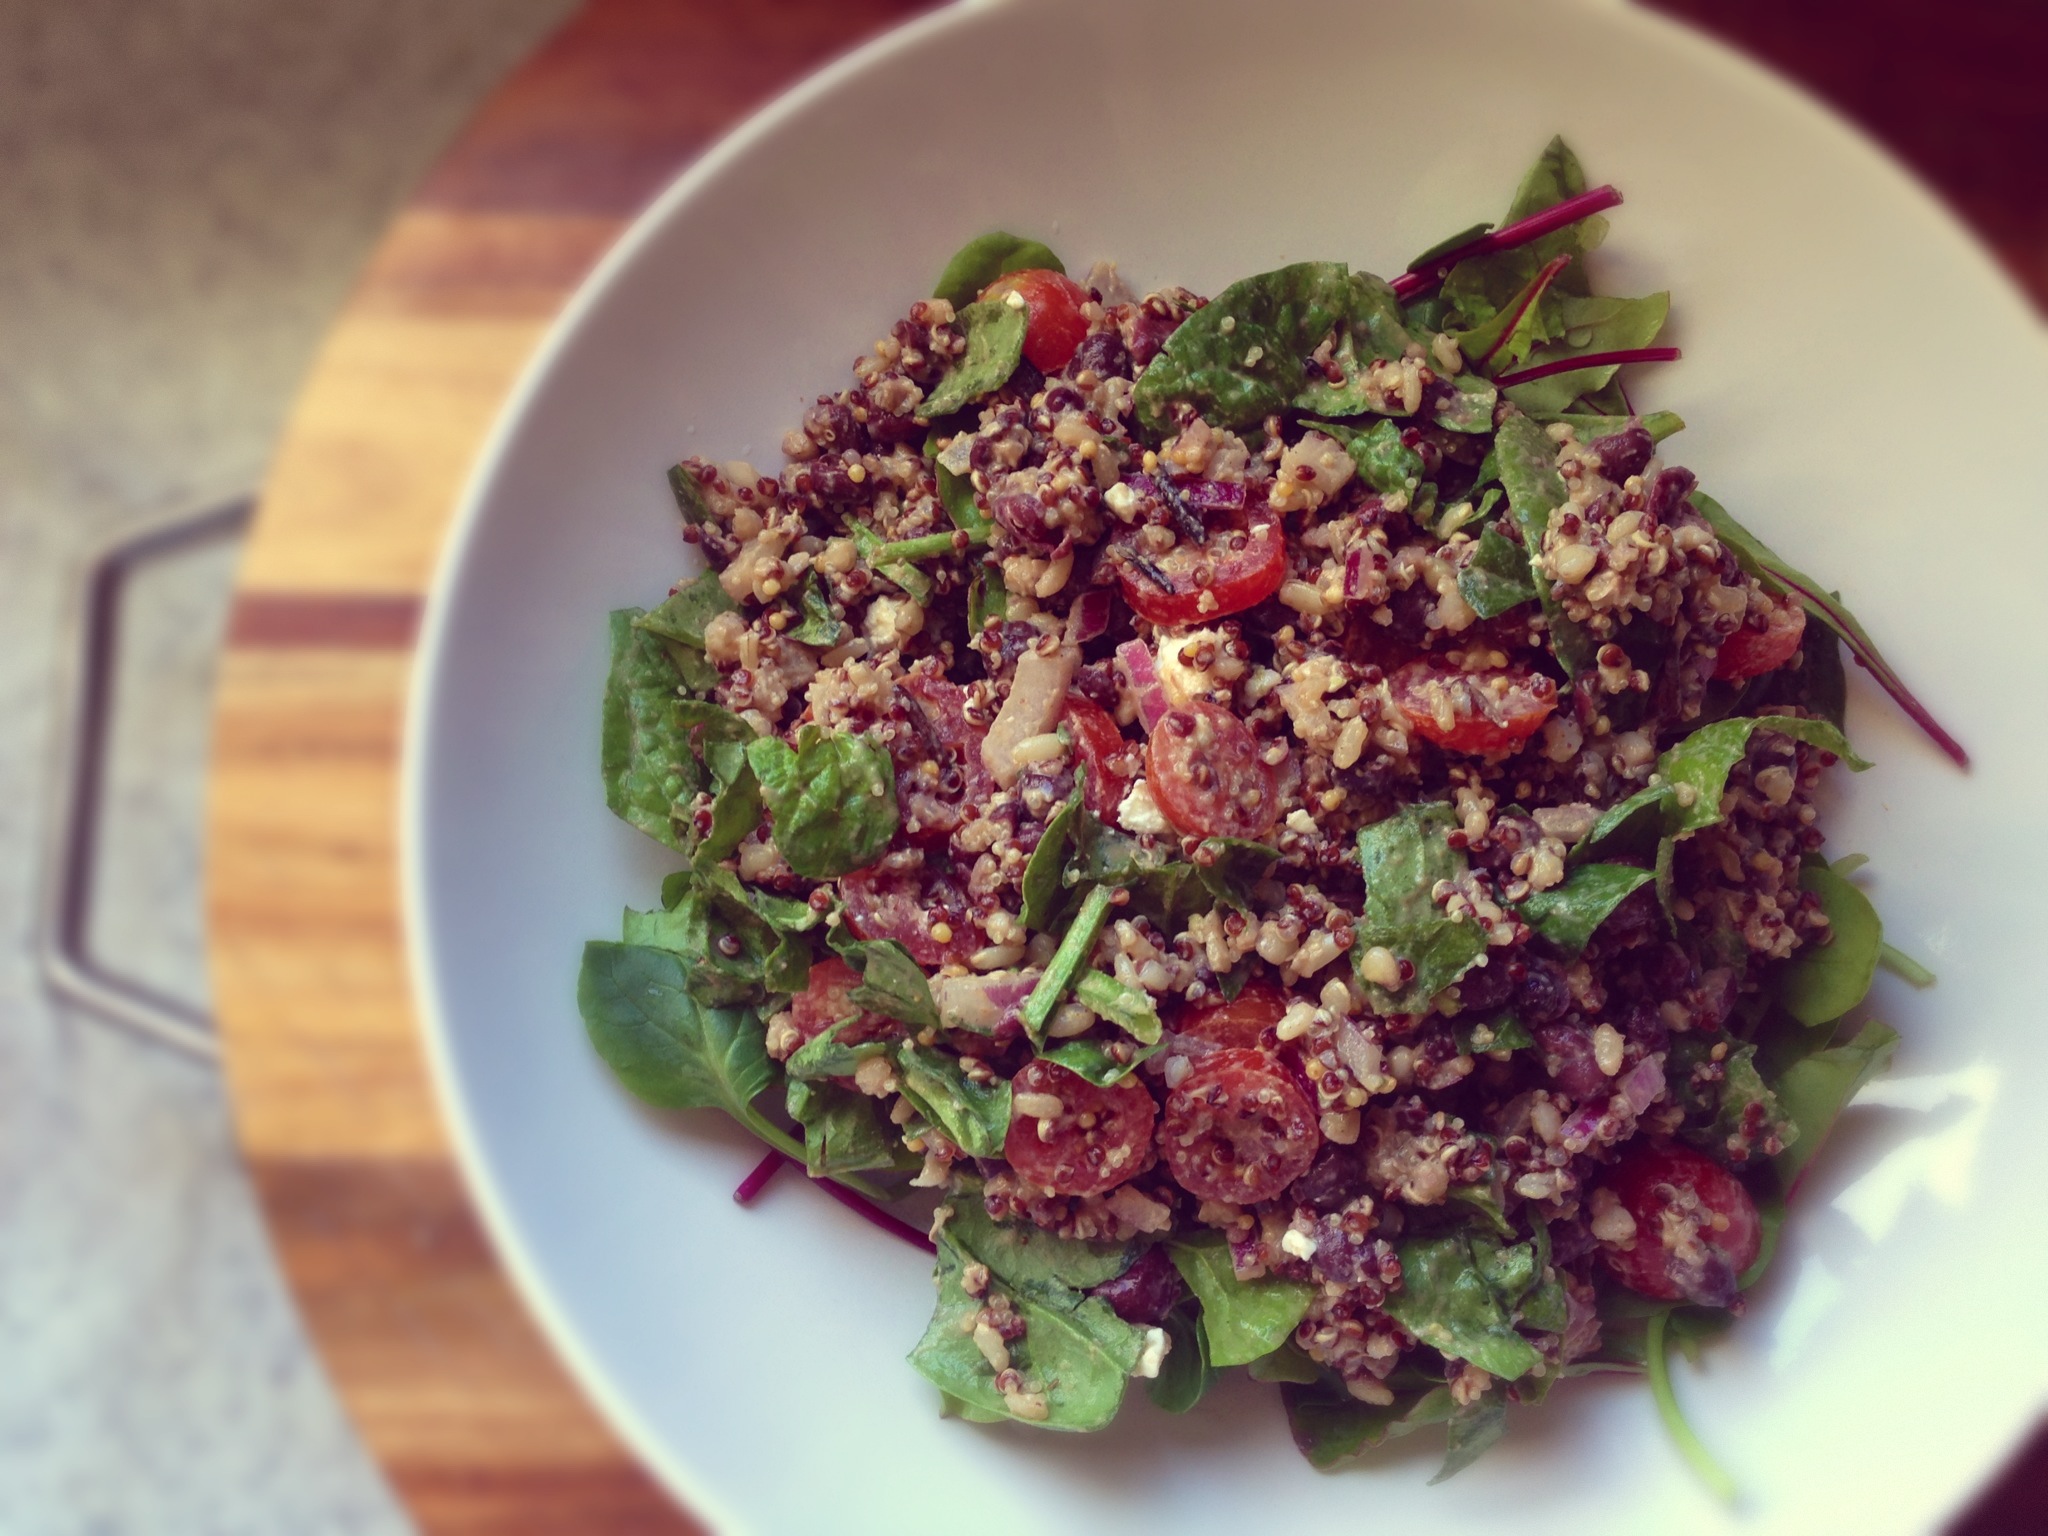
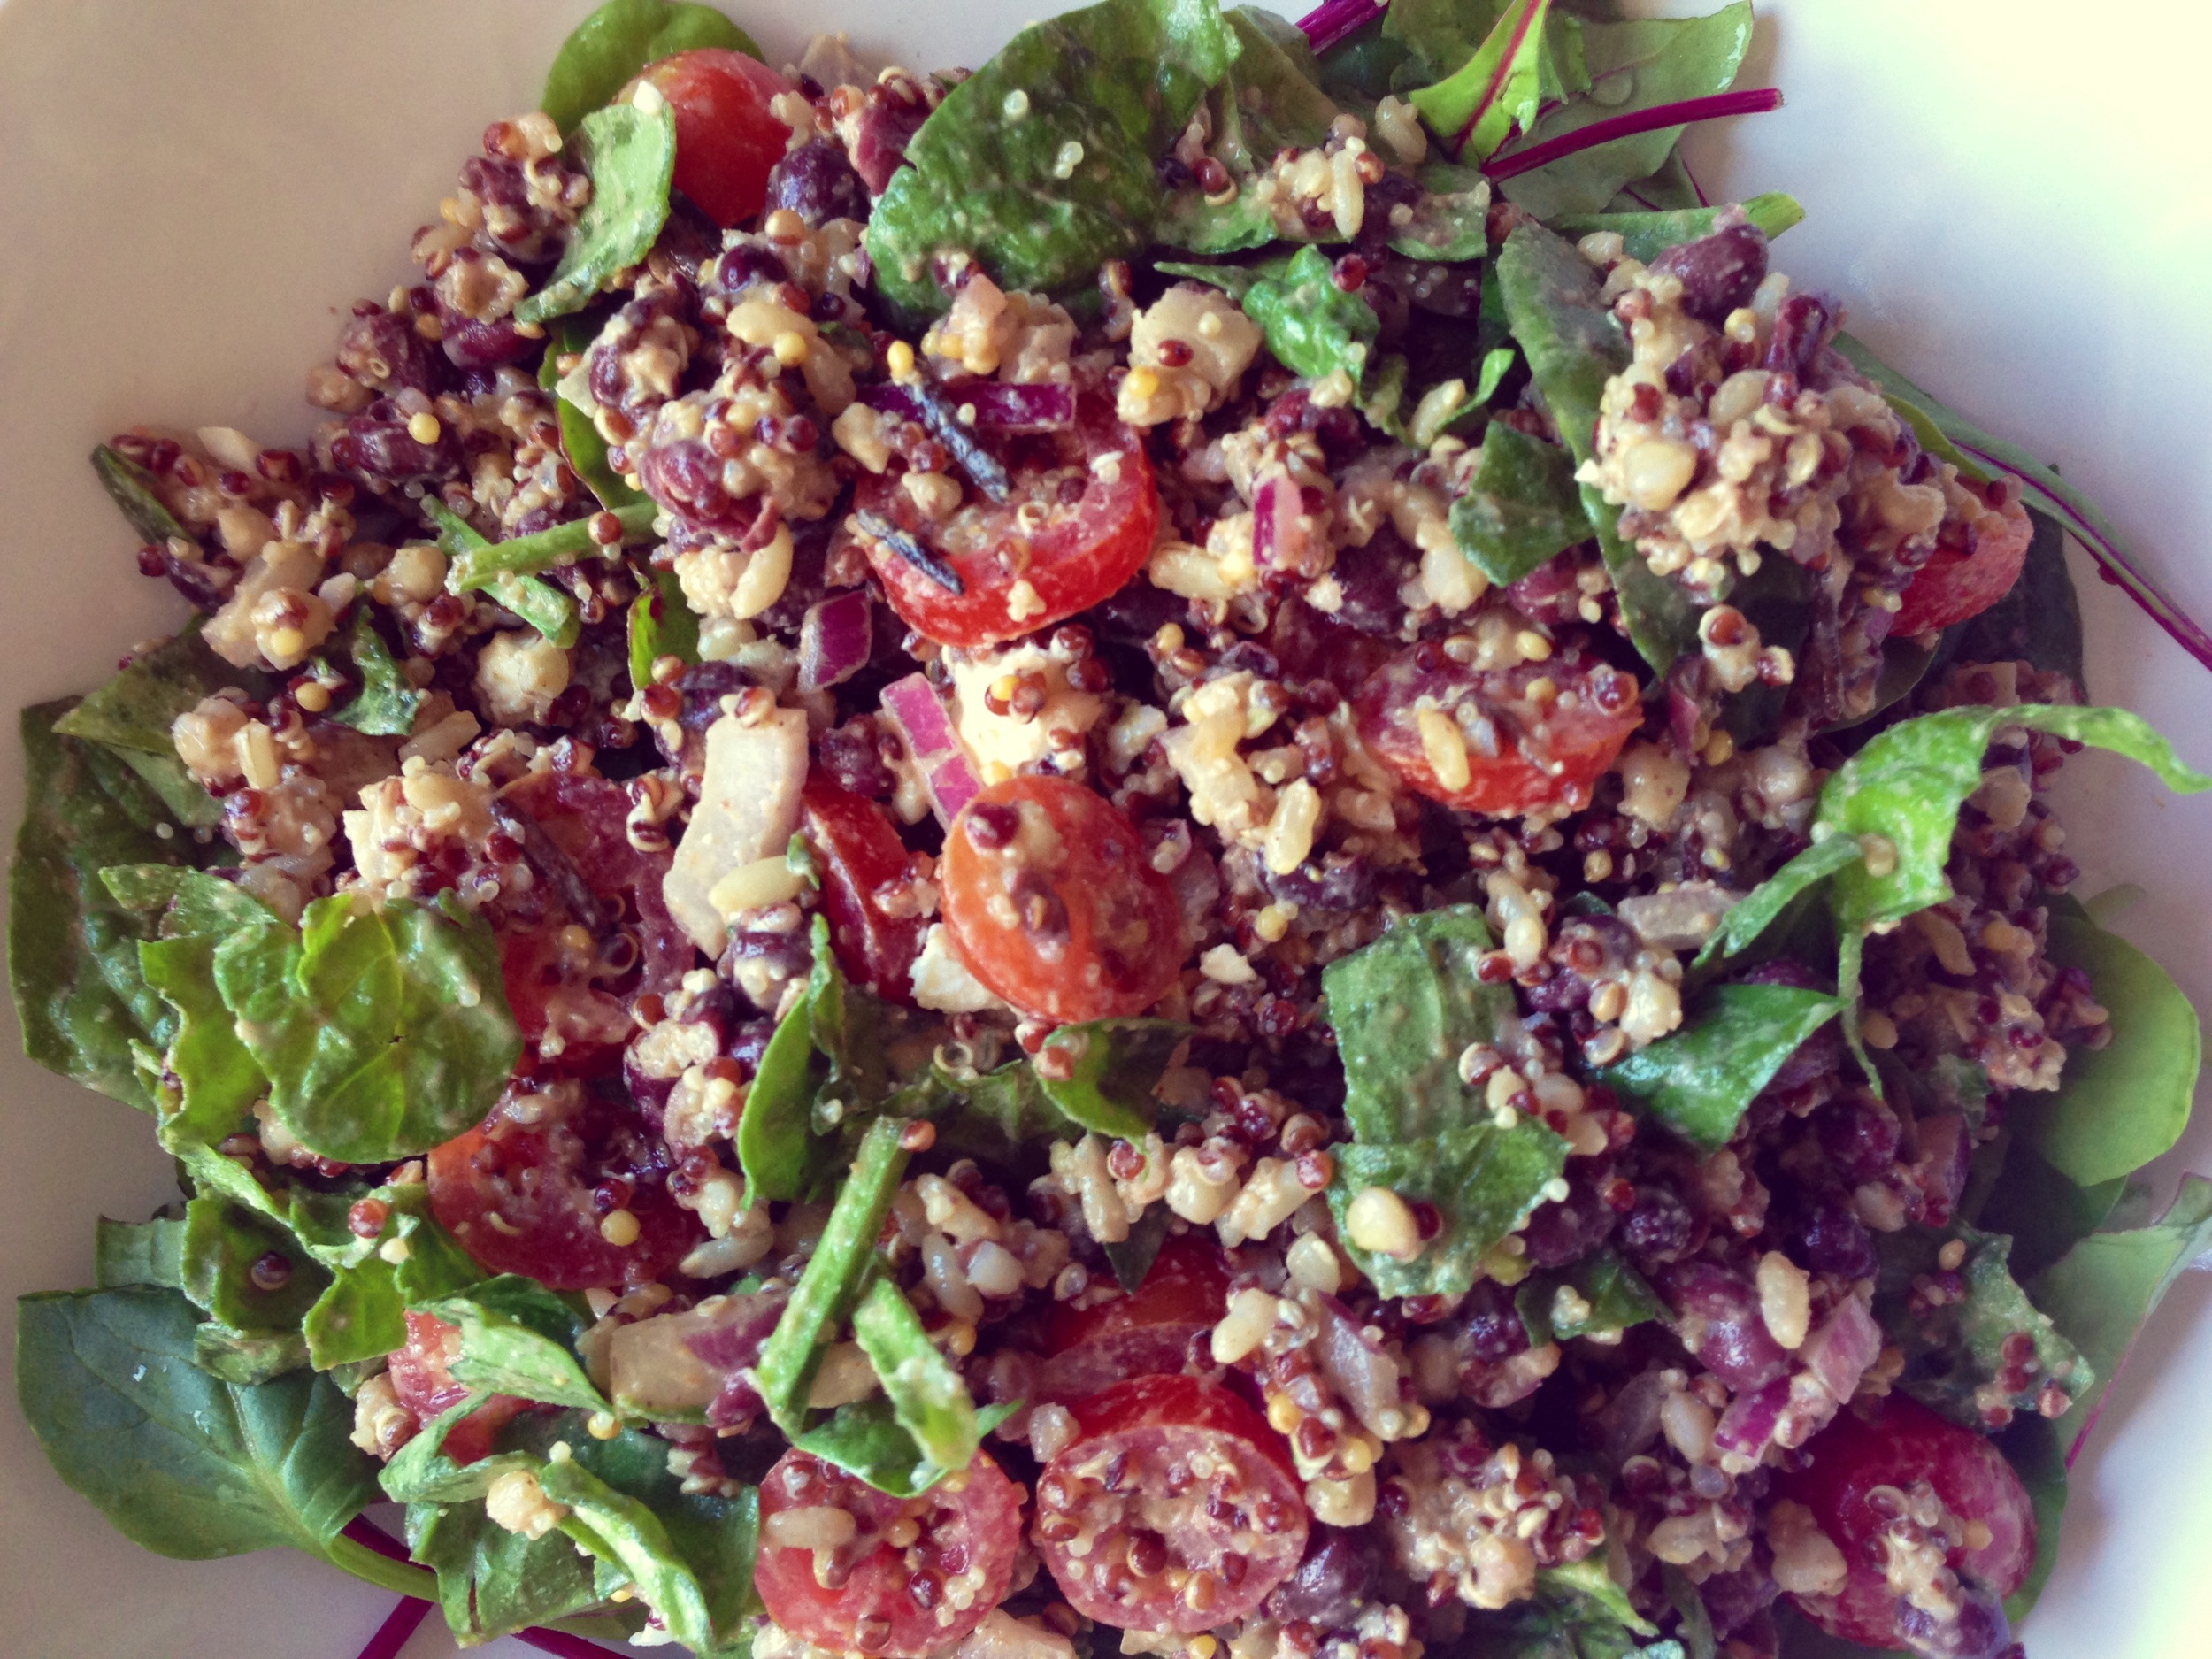
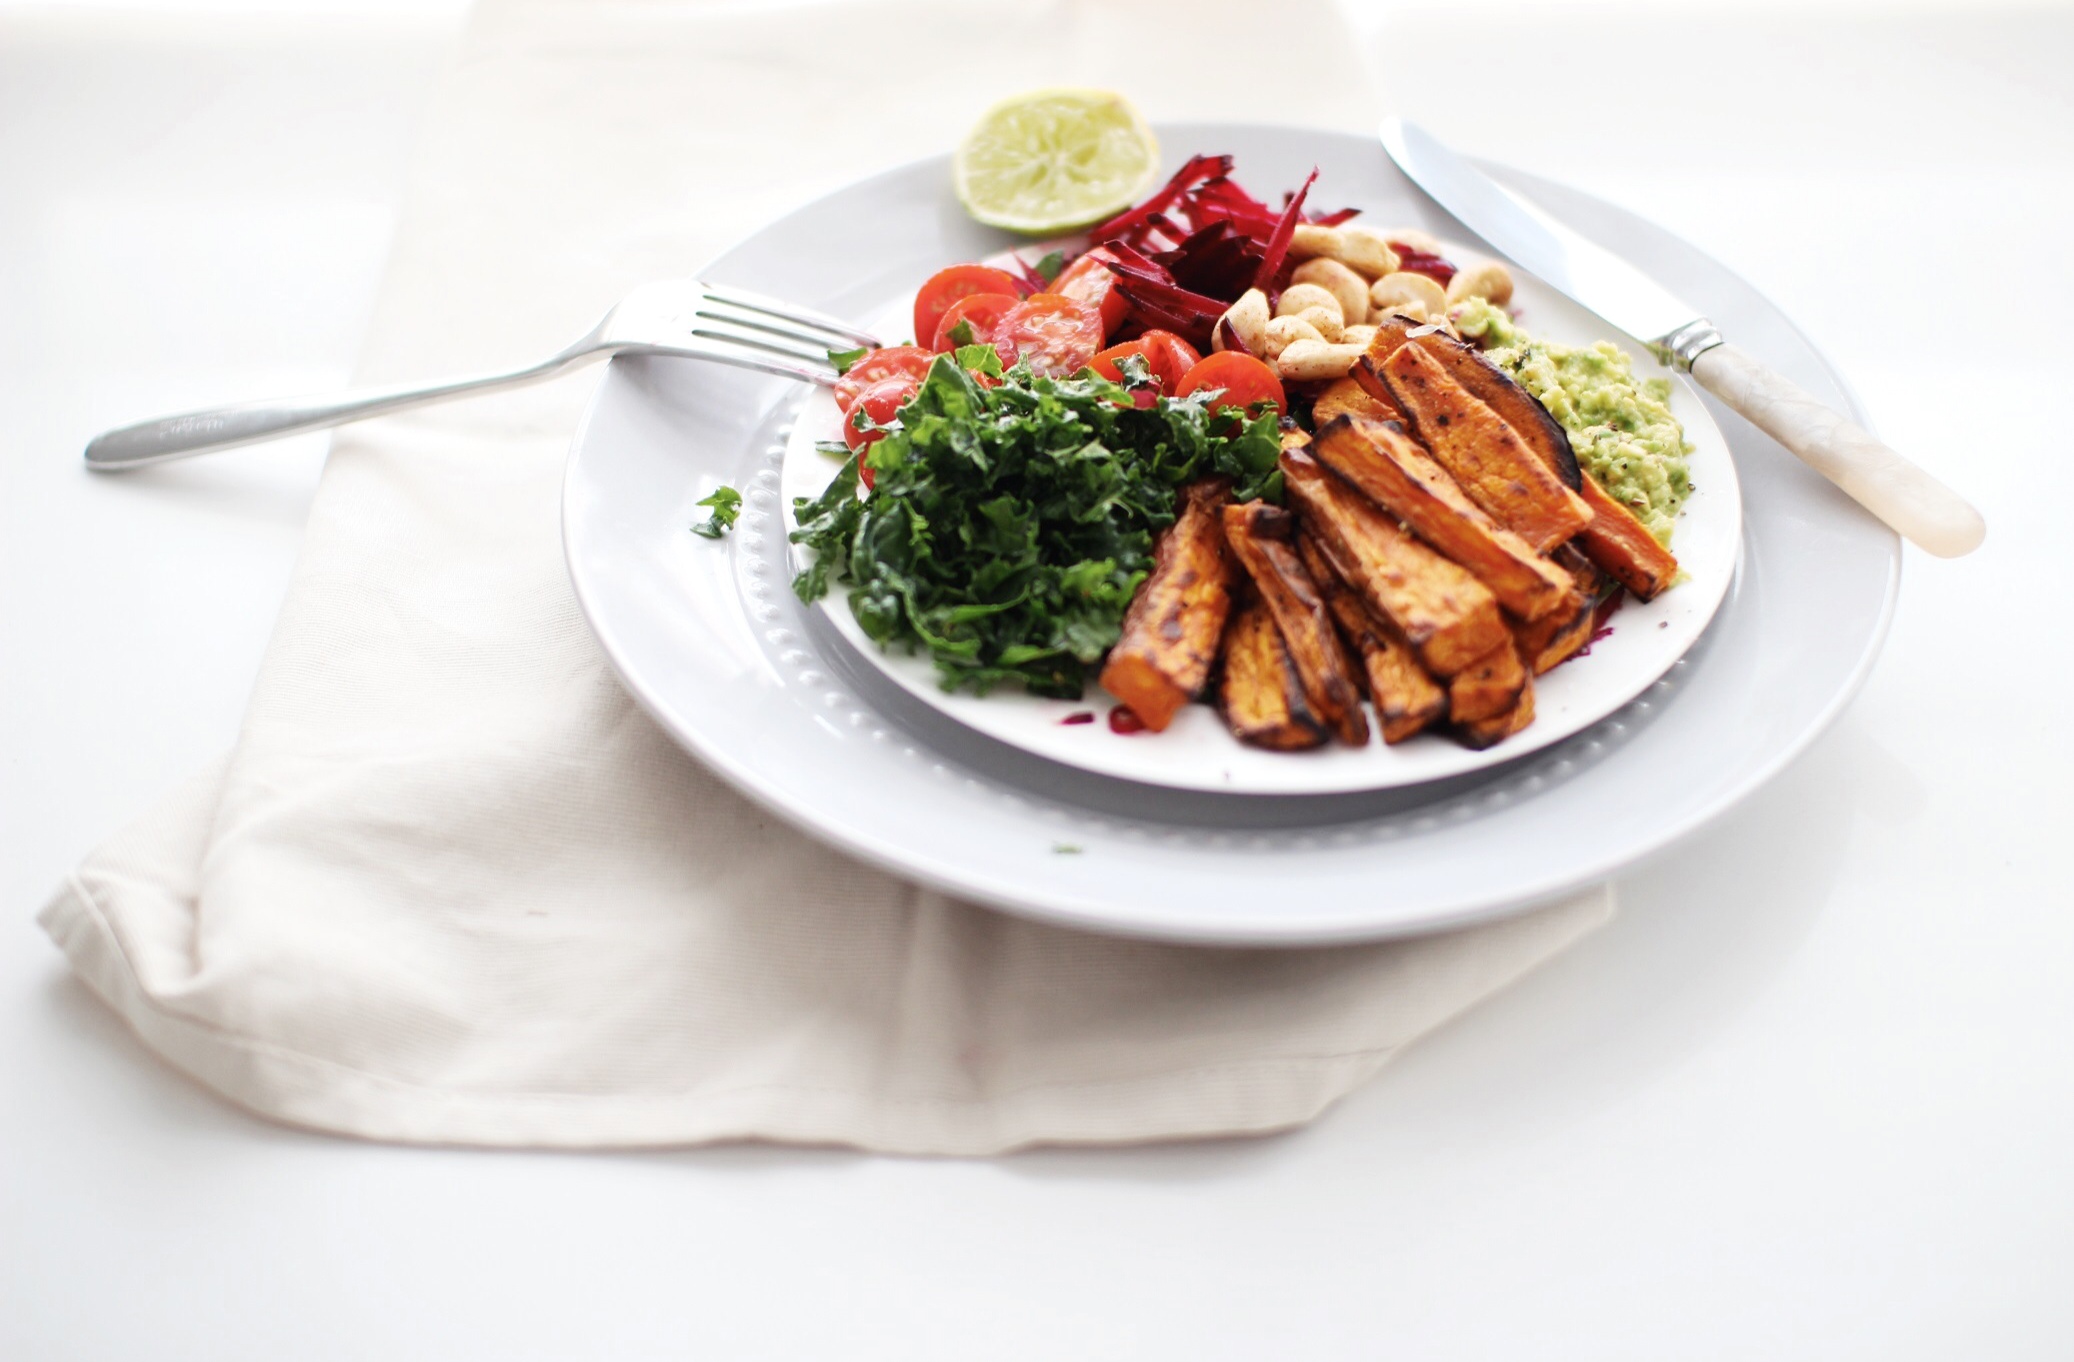
Roasted Chickpea Salad Bowl
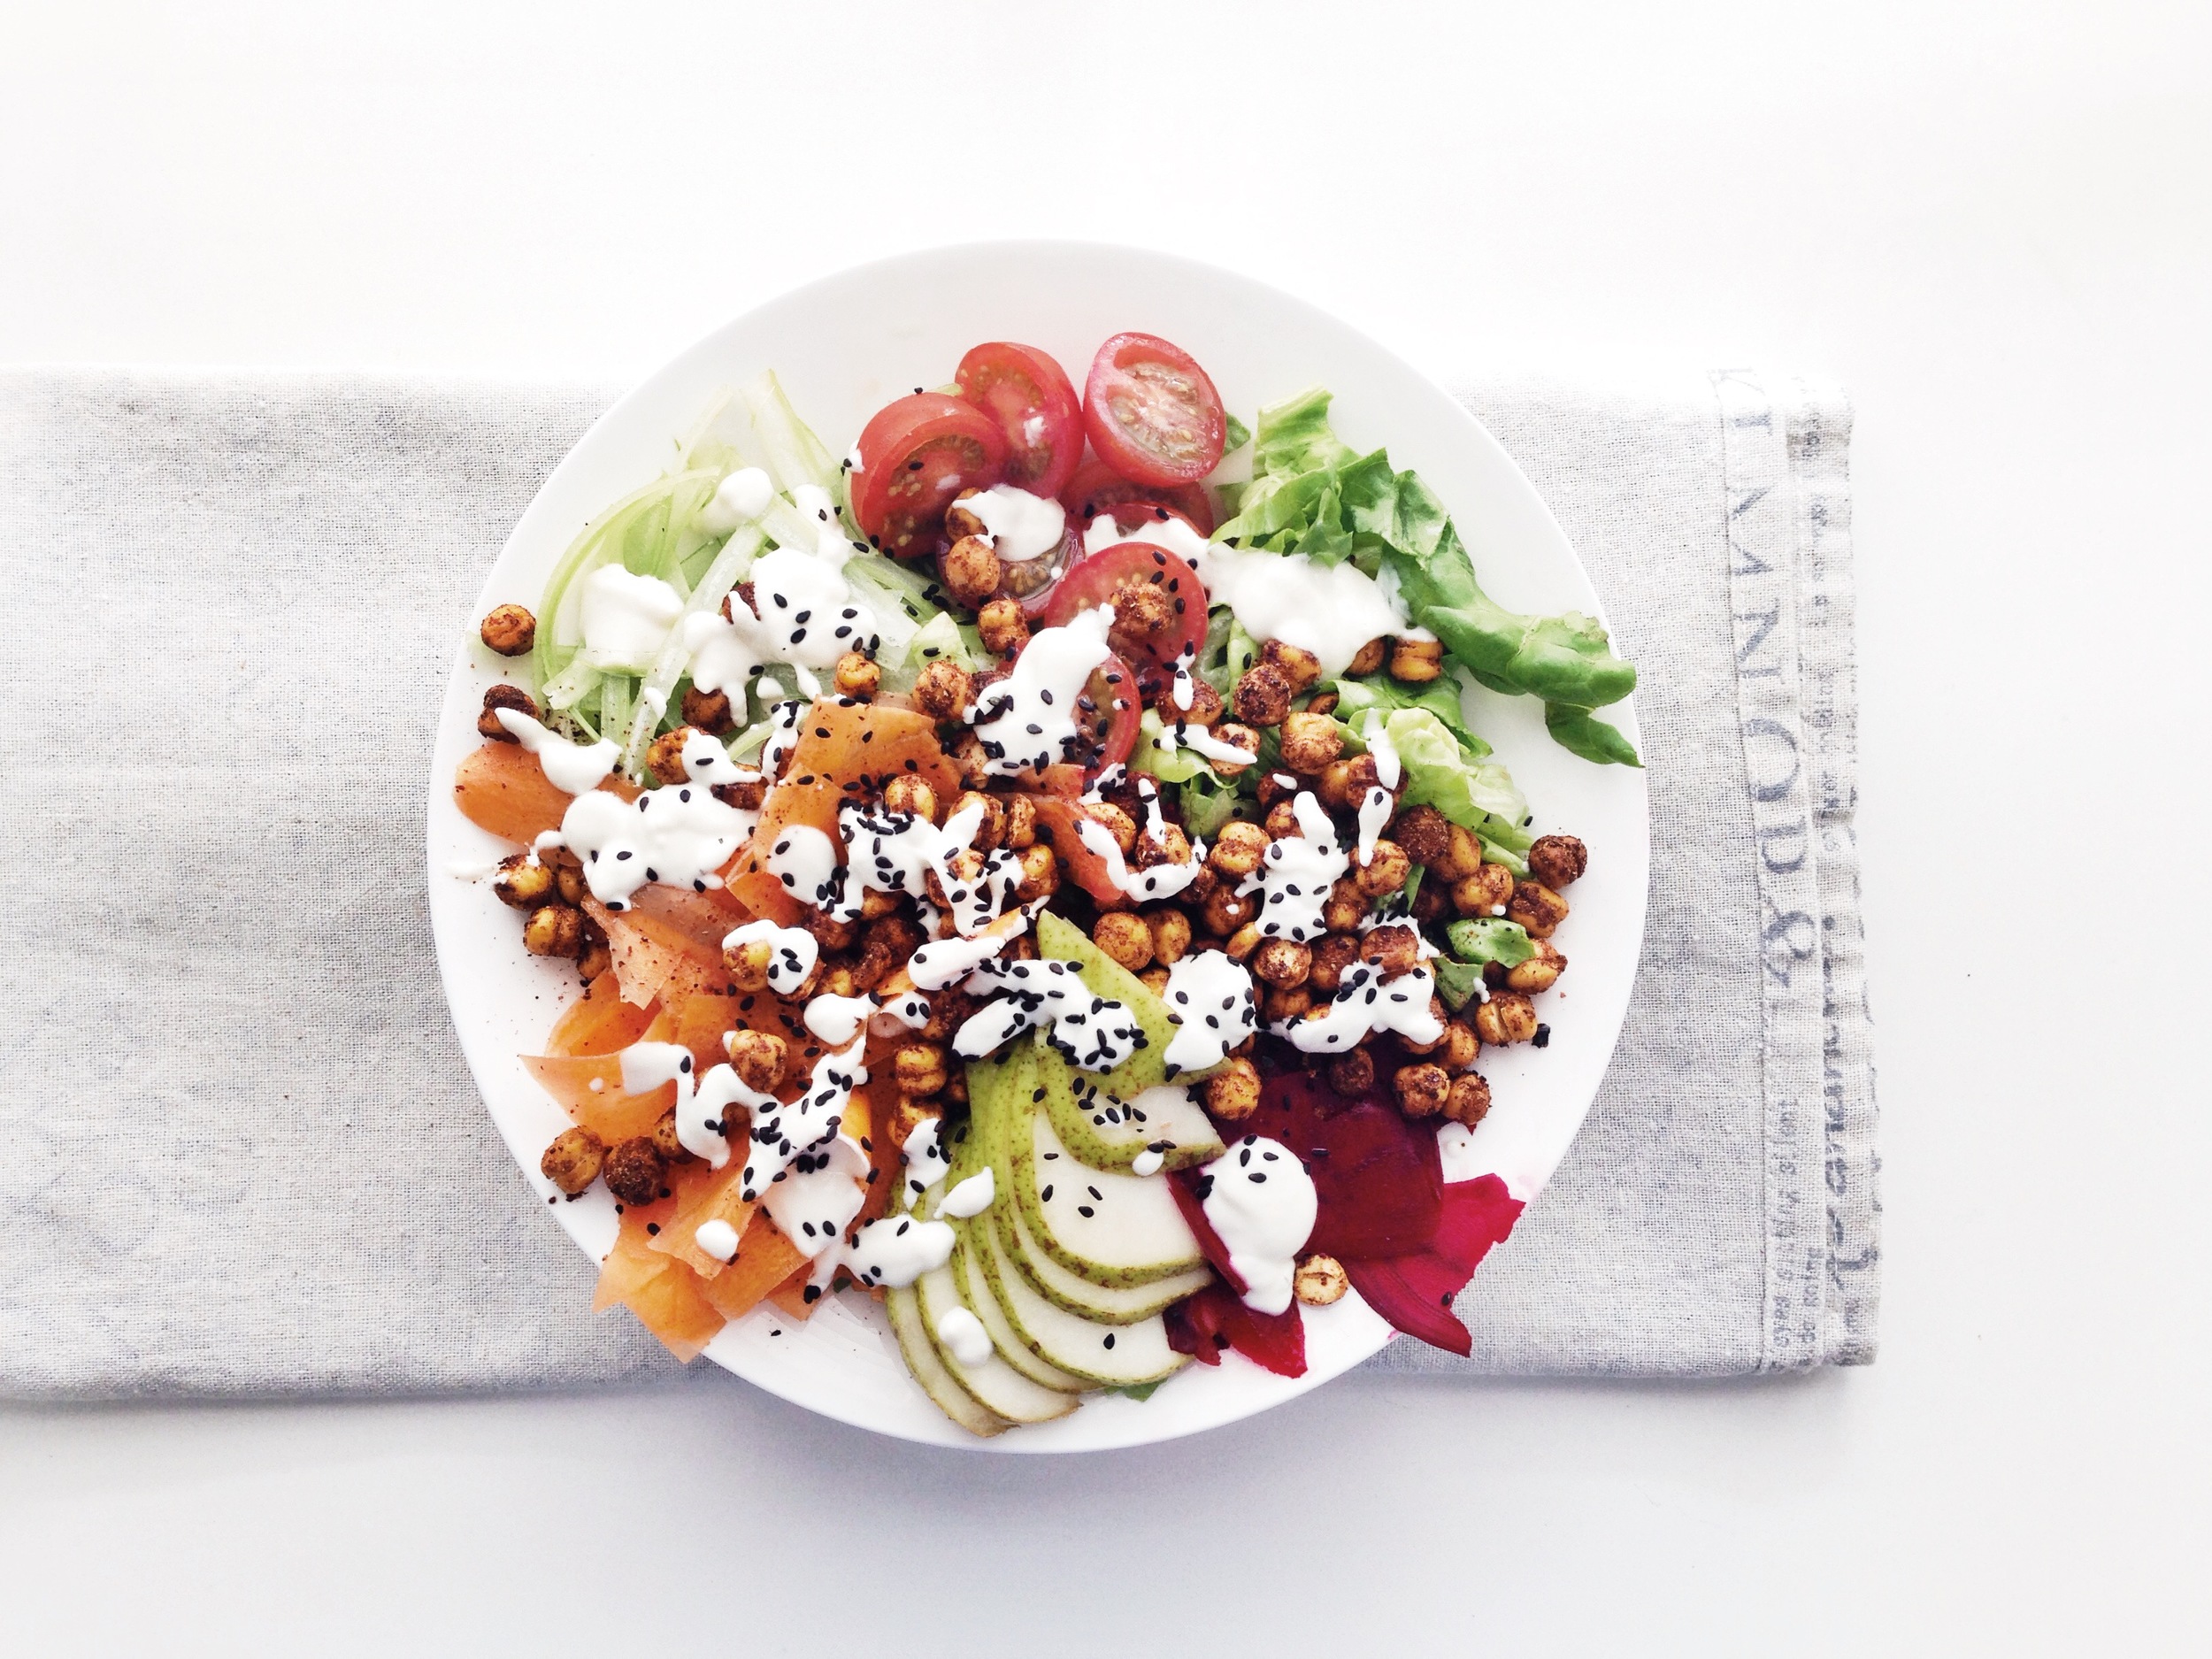
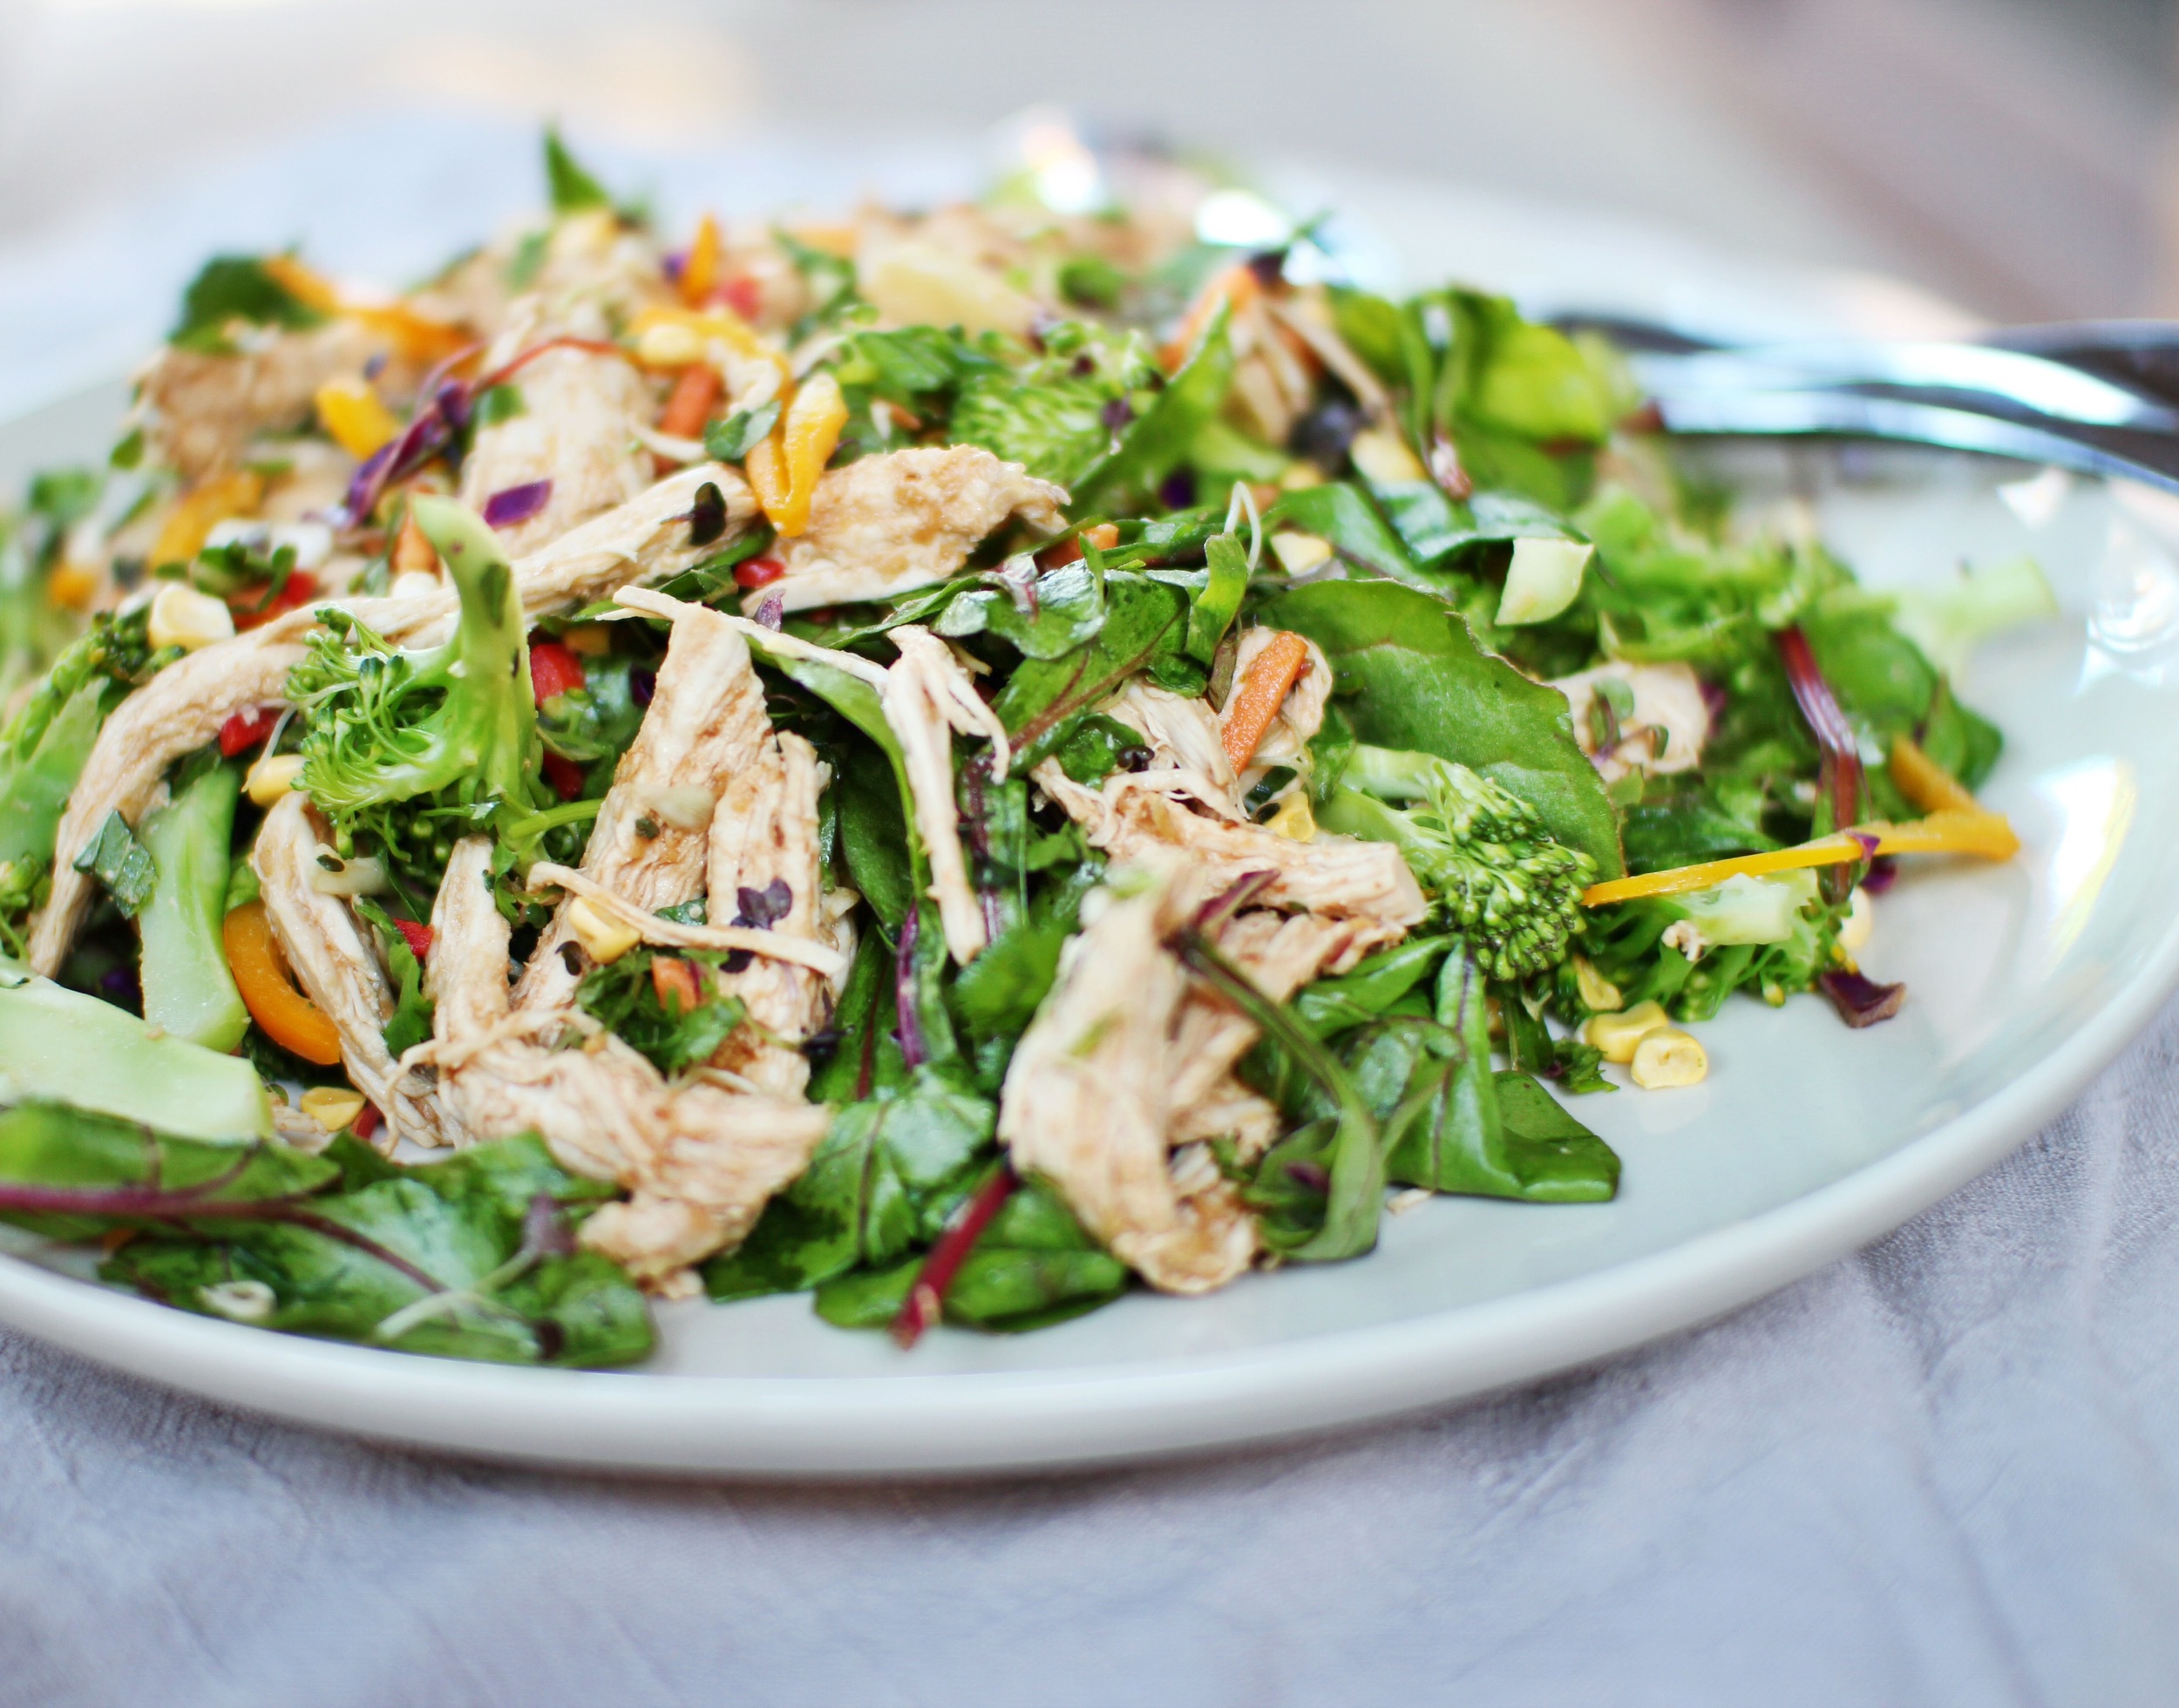
Chickpeas are such a versatile little legume and very underrated! It is rich in soluble fibre (7.8g per 100g) for a healthy gut and digestive system and to help lower cholesterol. It is also a wonderful source of low glycaemic slow-release carbohydrates and contains 7.5g protein per 100g to keep you full until your next meal and avoid those afternoon sugar cravings. Chickpeas are also extremely cheap (especially if you buy dried and cook them yourself) and they have a long shelf life - perfect to have on hand to throw into salads for lunch! Just like this favourite lunchtime salad:
Ingredients:
Salad: 2 cups dark green lettuce 1 carrot, 1 celery and ¼ fresh beetroot peeled into "ribbons" with a vegetable peeler ½ pear thinly sliced ½ cup halved cherry tomatoes
Chickpeas: ¾ cup chickpeas 1 teaspoon cumin 1 teaspoon sumac ½ teaspoon paprika ¼ teaspoon chilli powder salt to taste
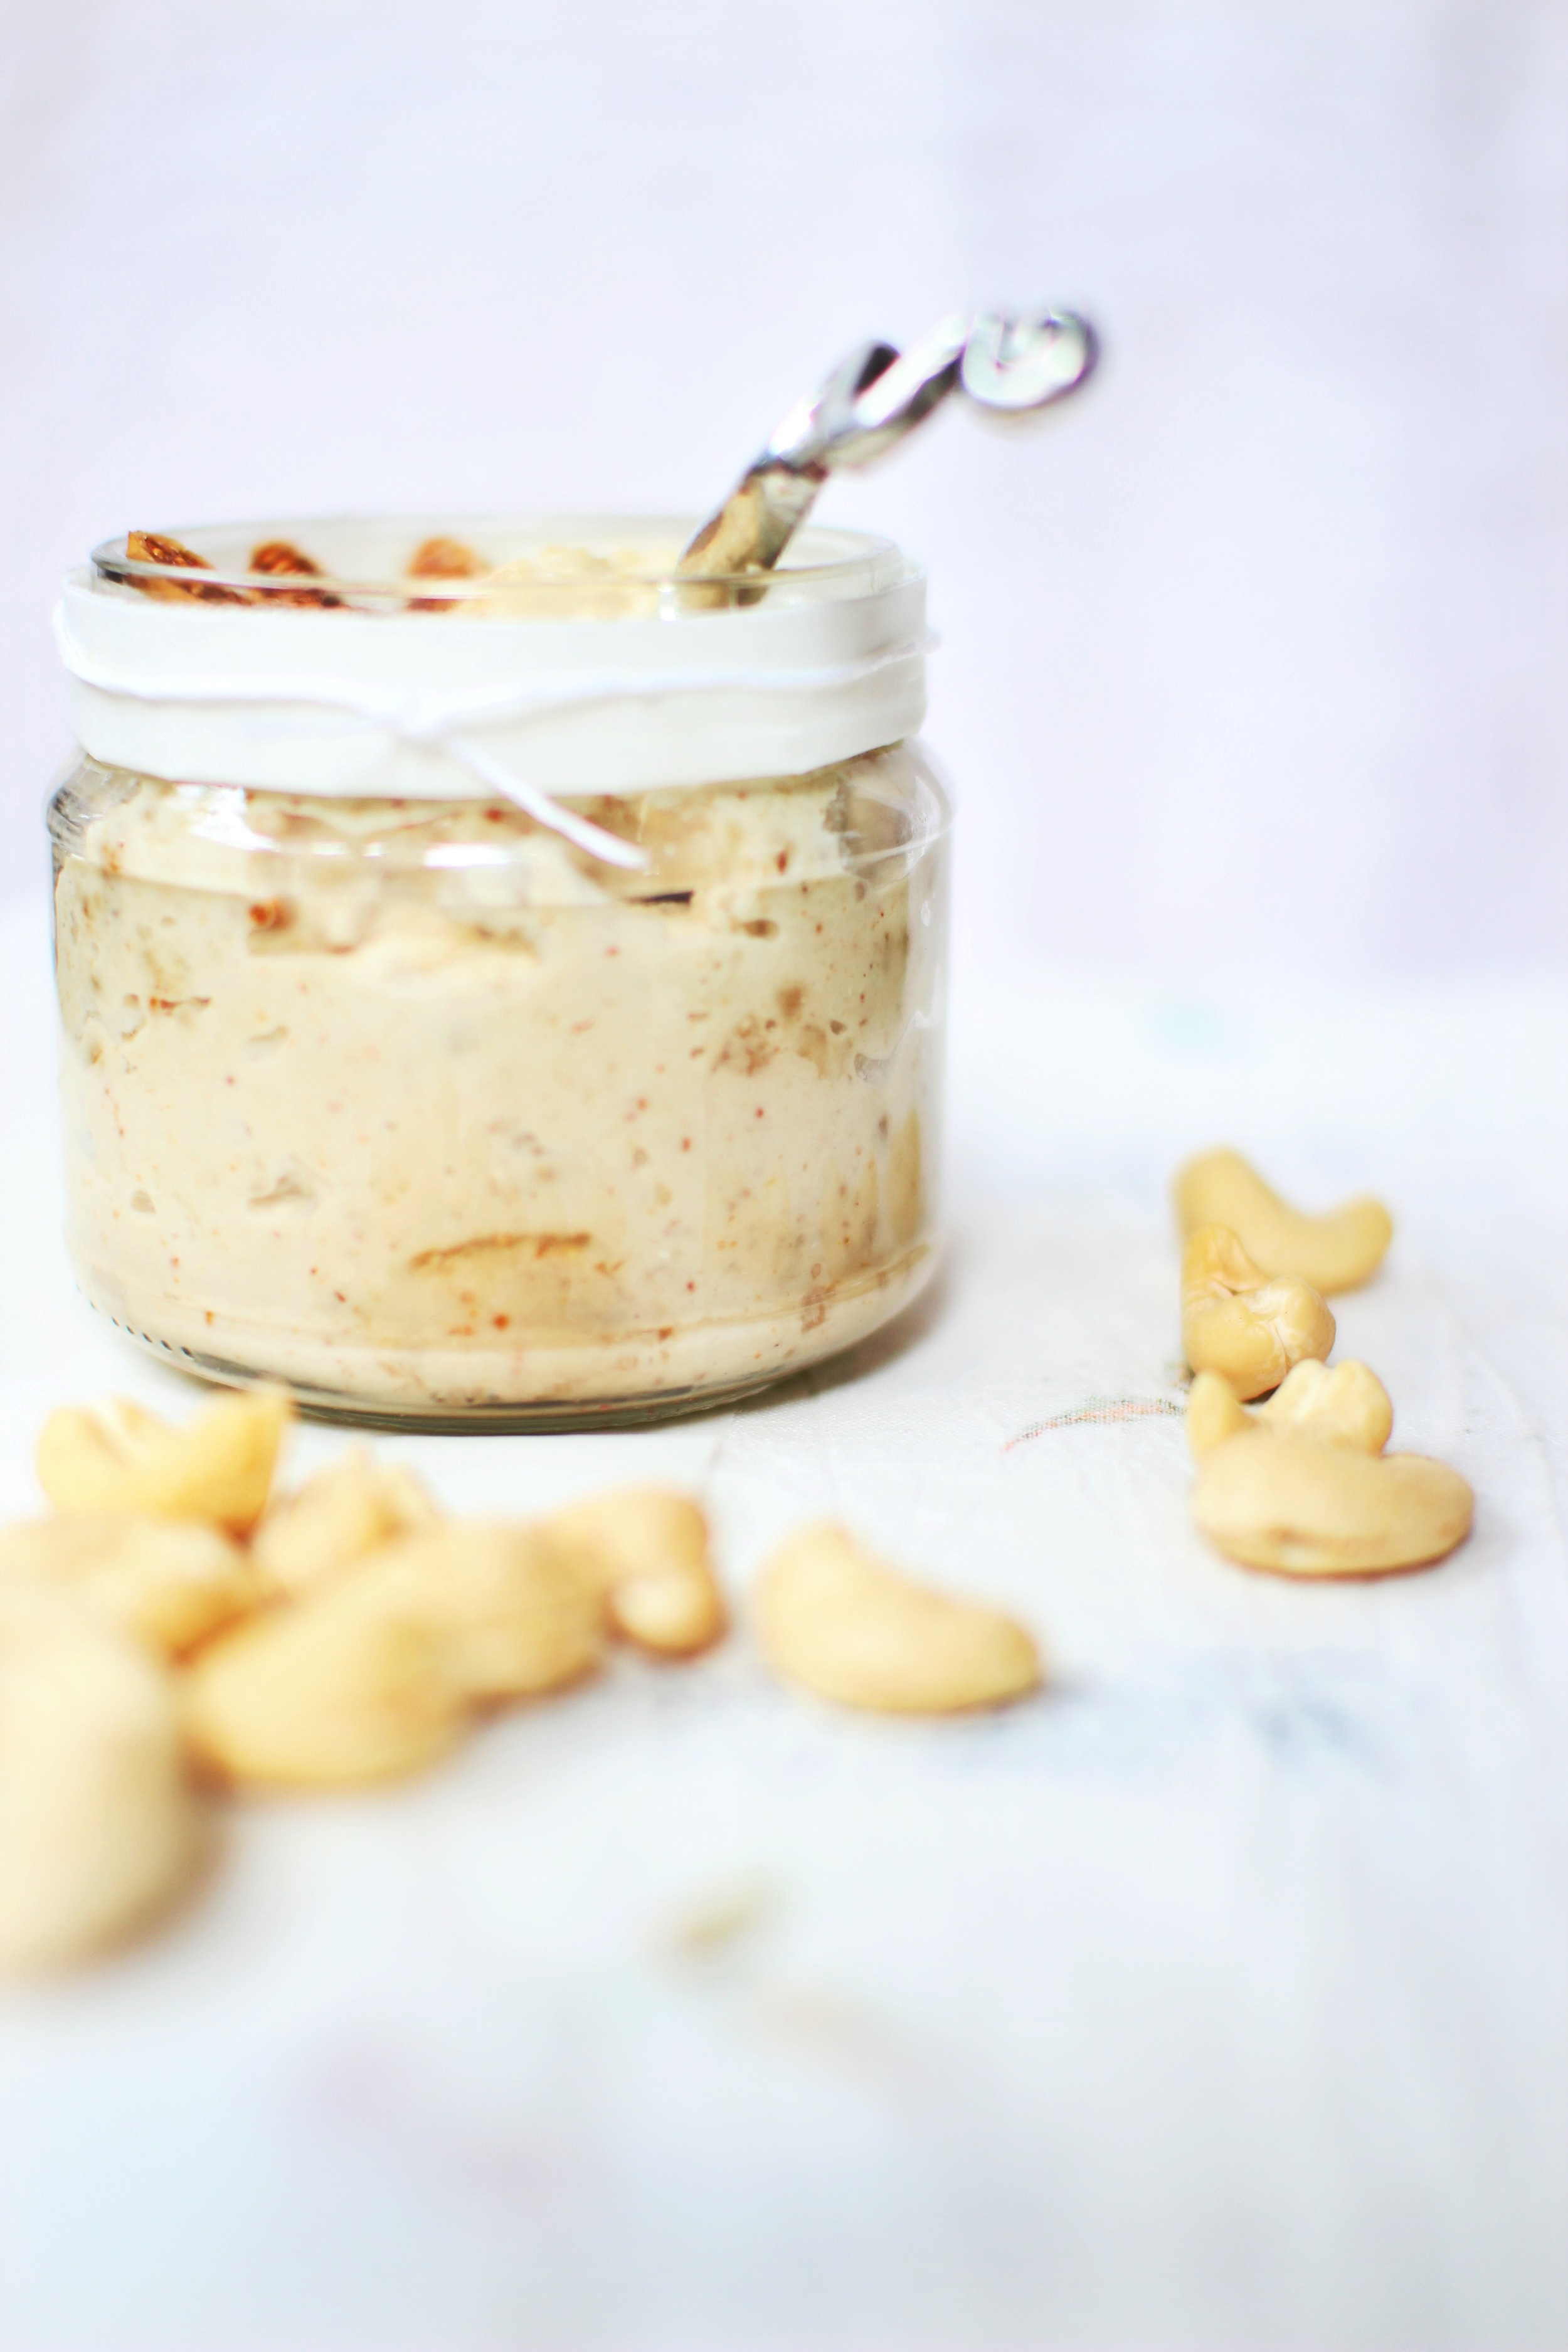
Dressing: 2 tablespoons plain Greek yoghurt 1 teaspoon tahini paste juice from ½ lemon sprinkle of black sesame seeds
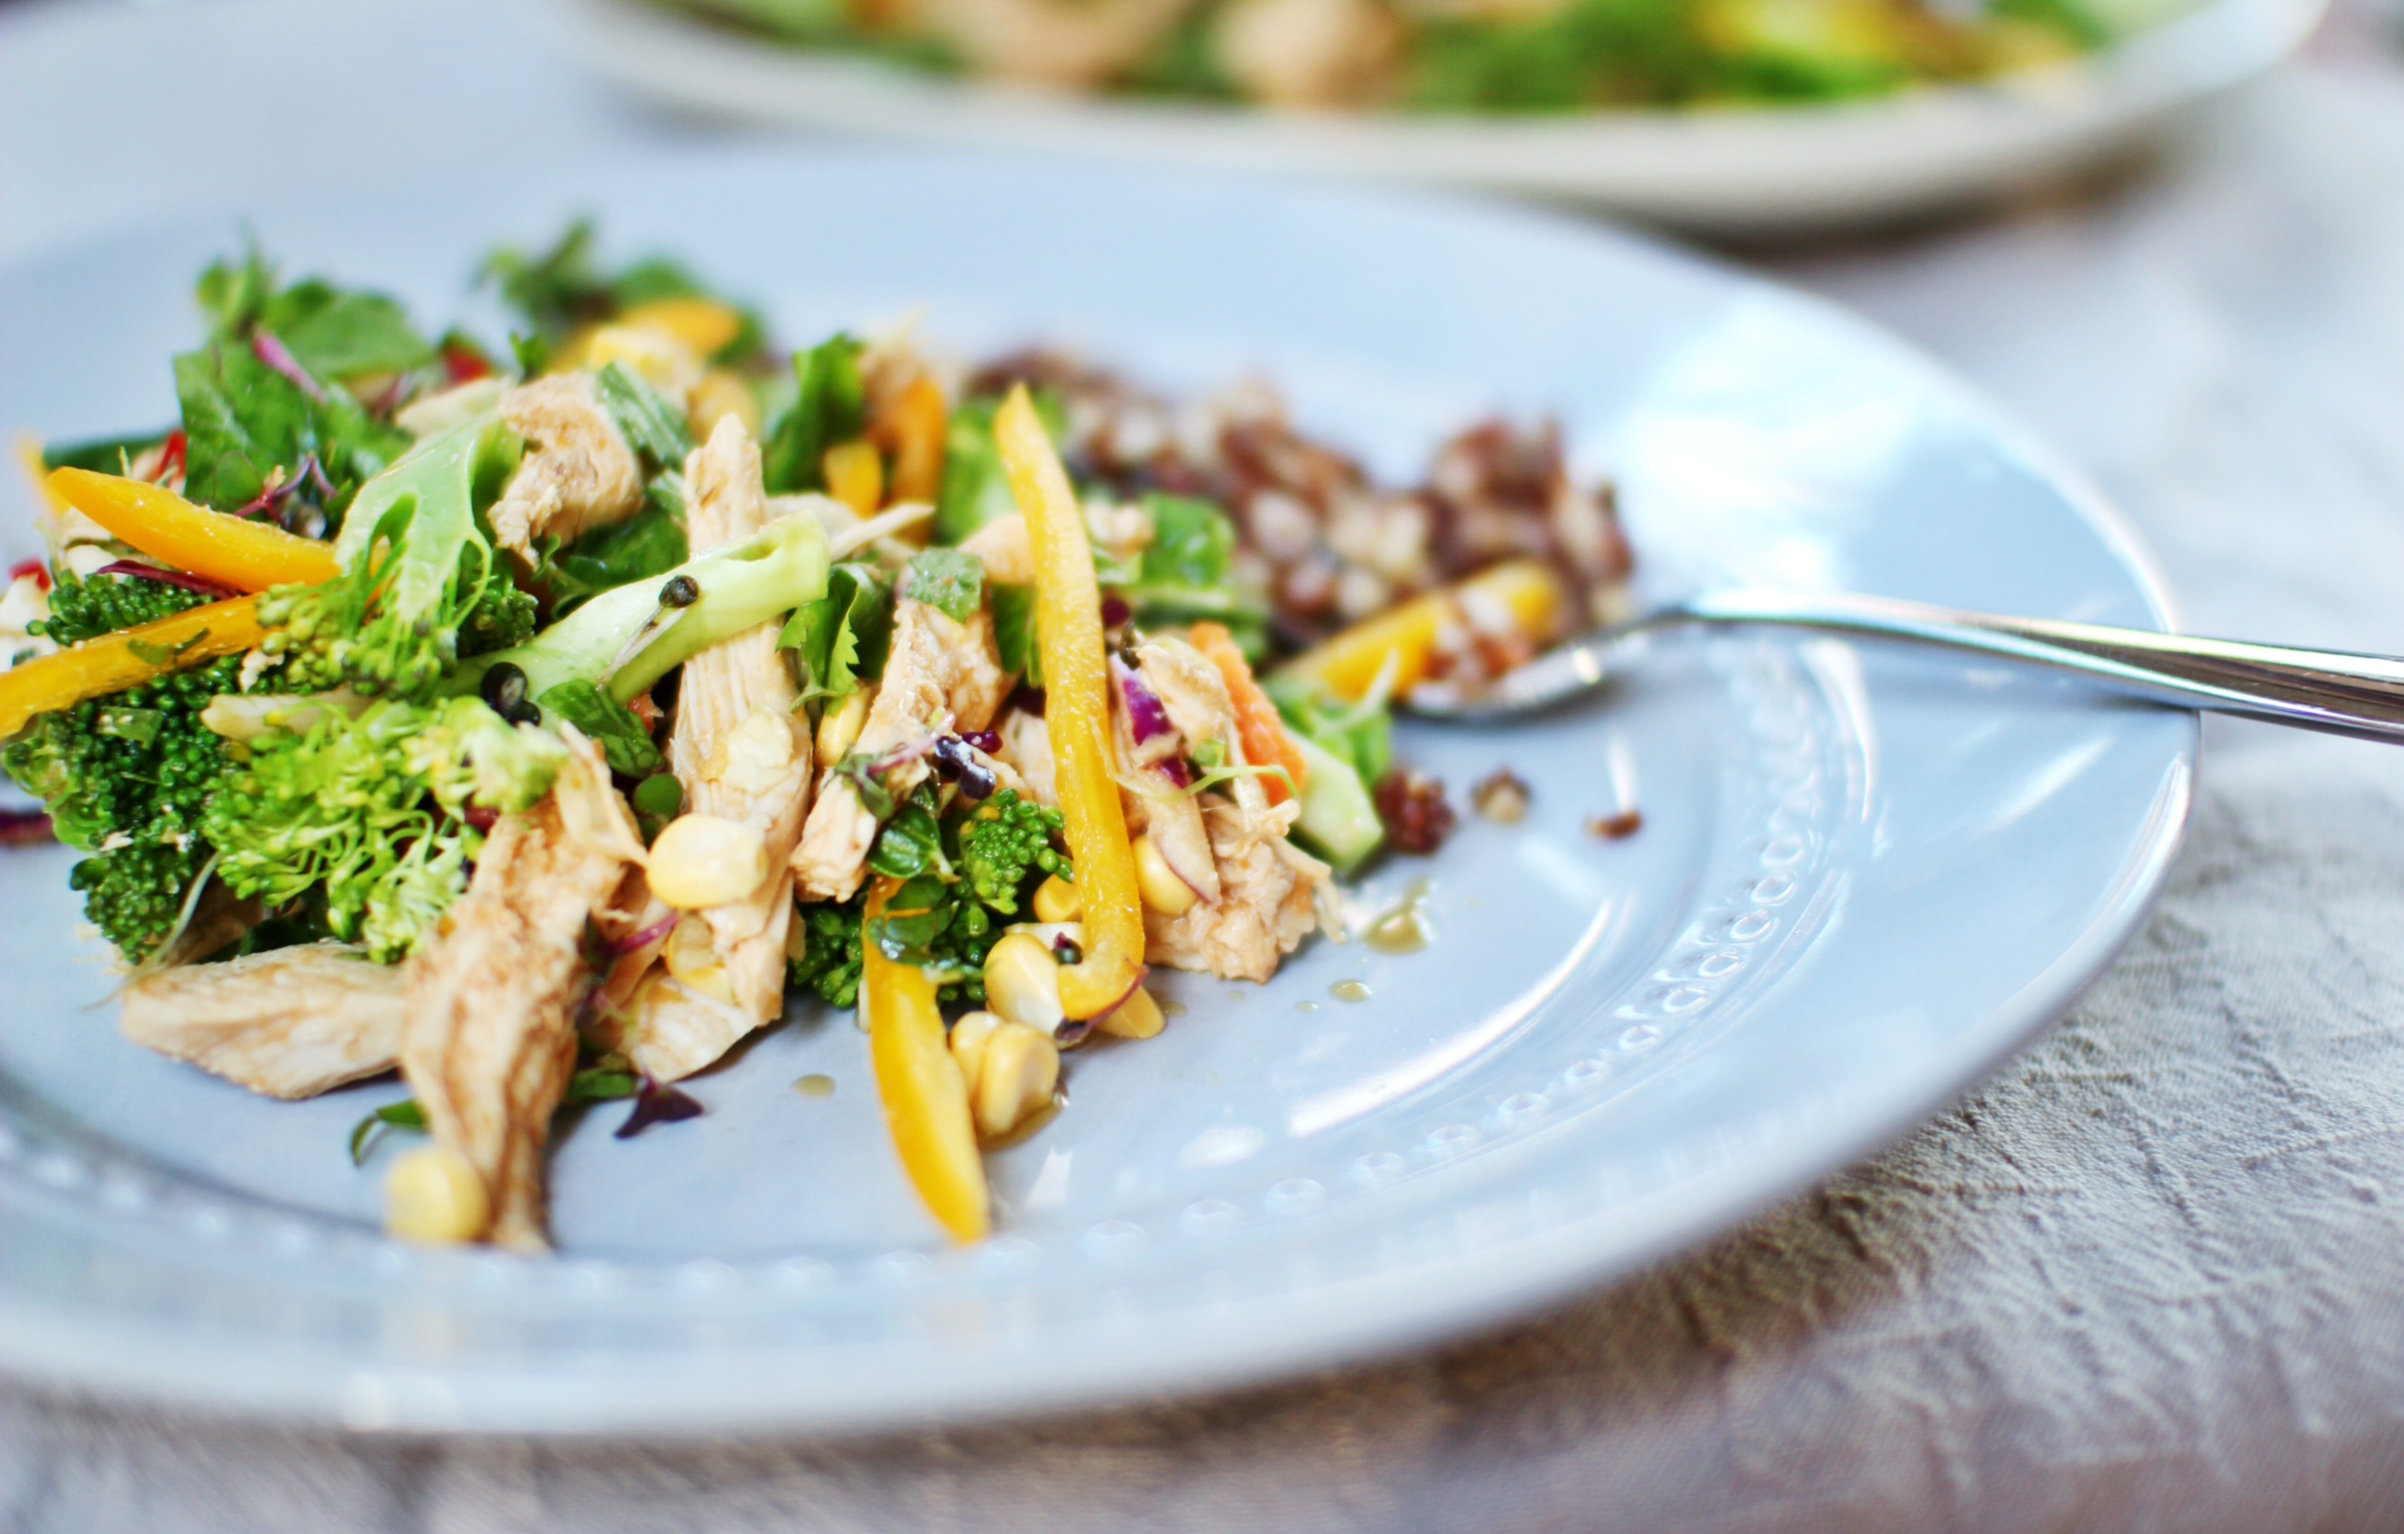
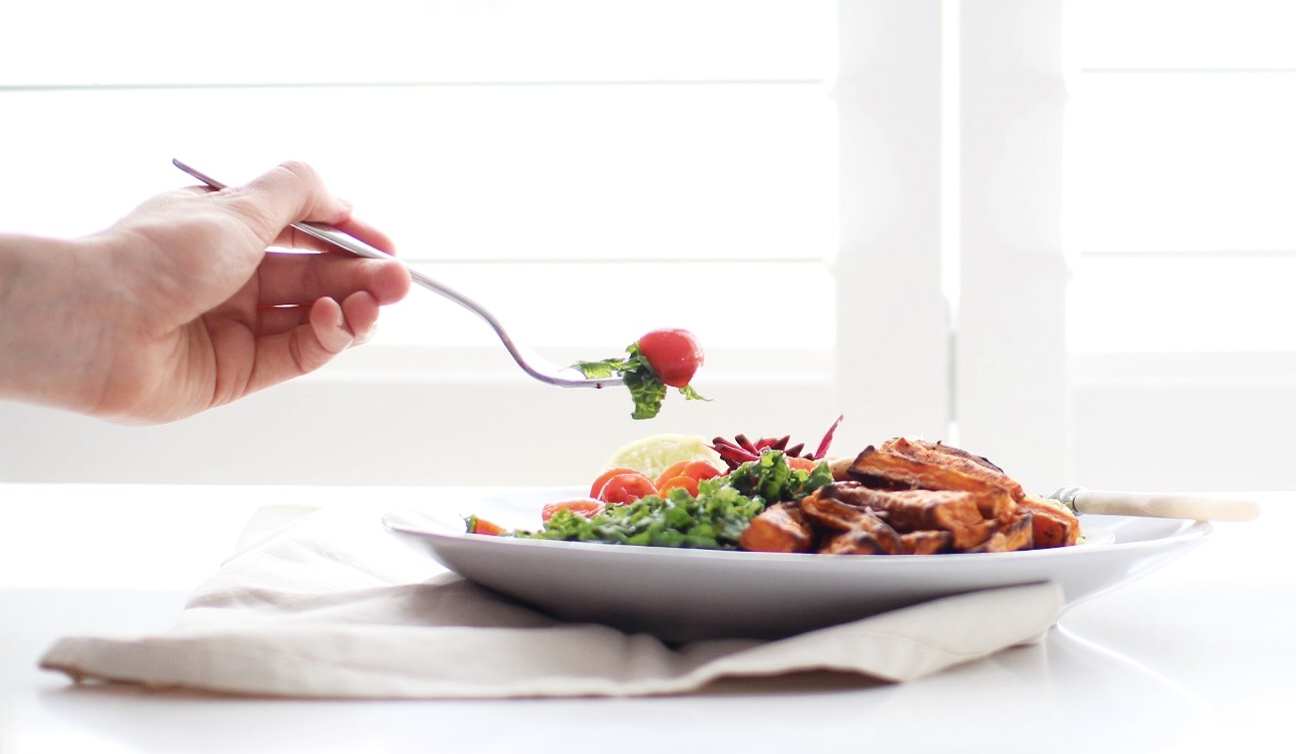
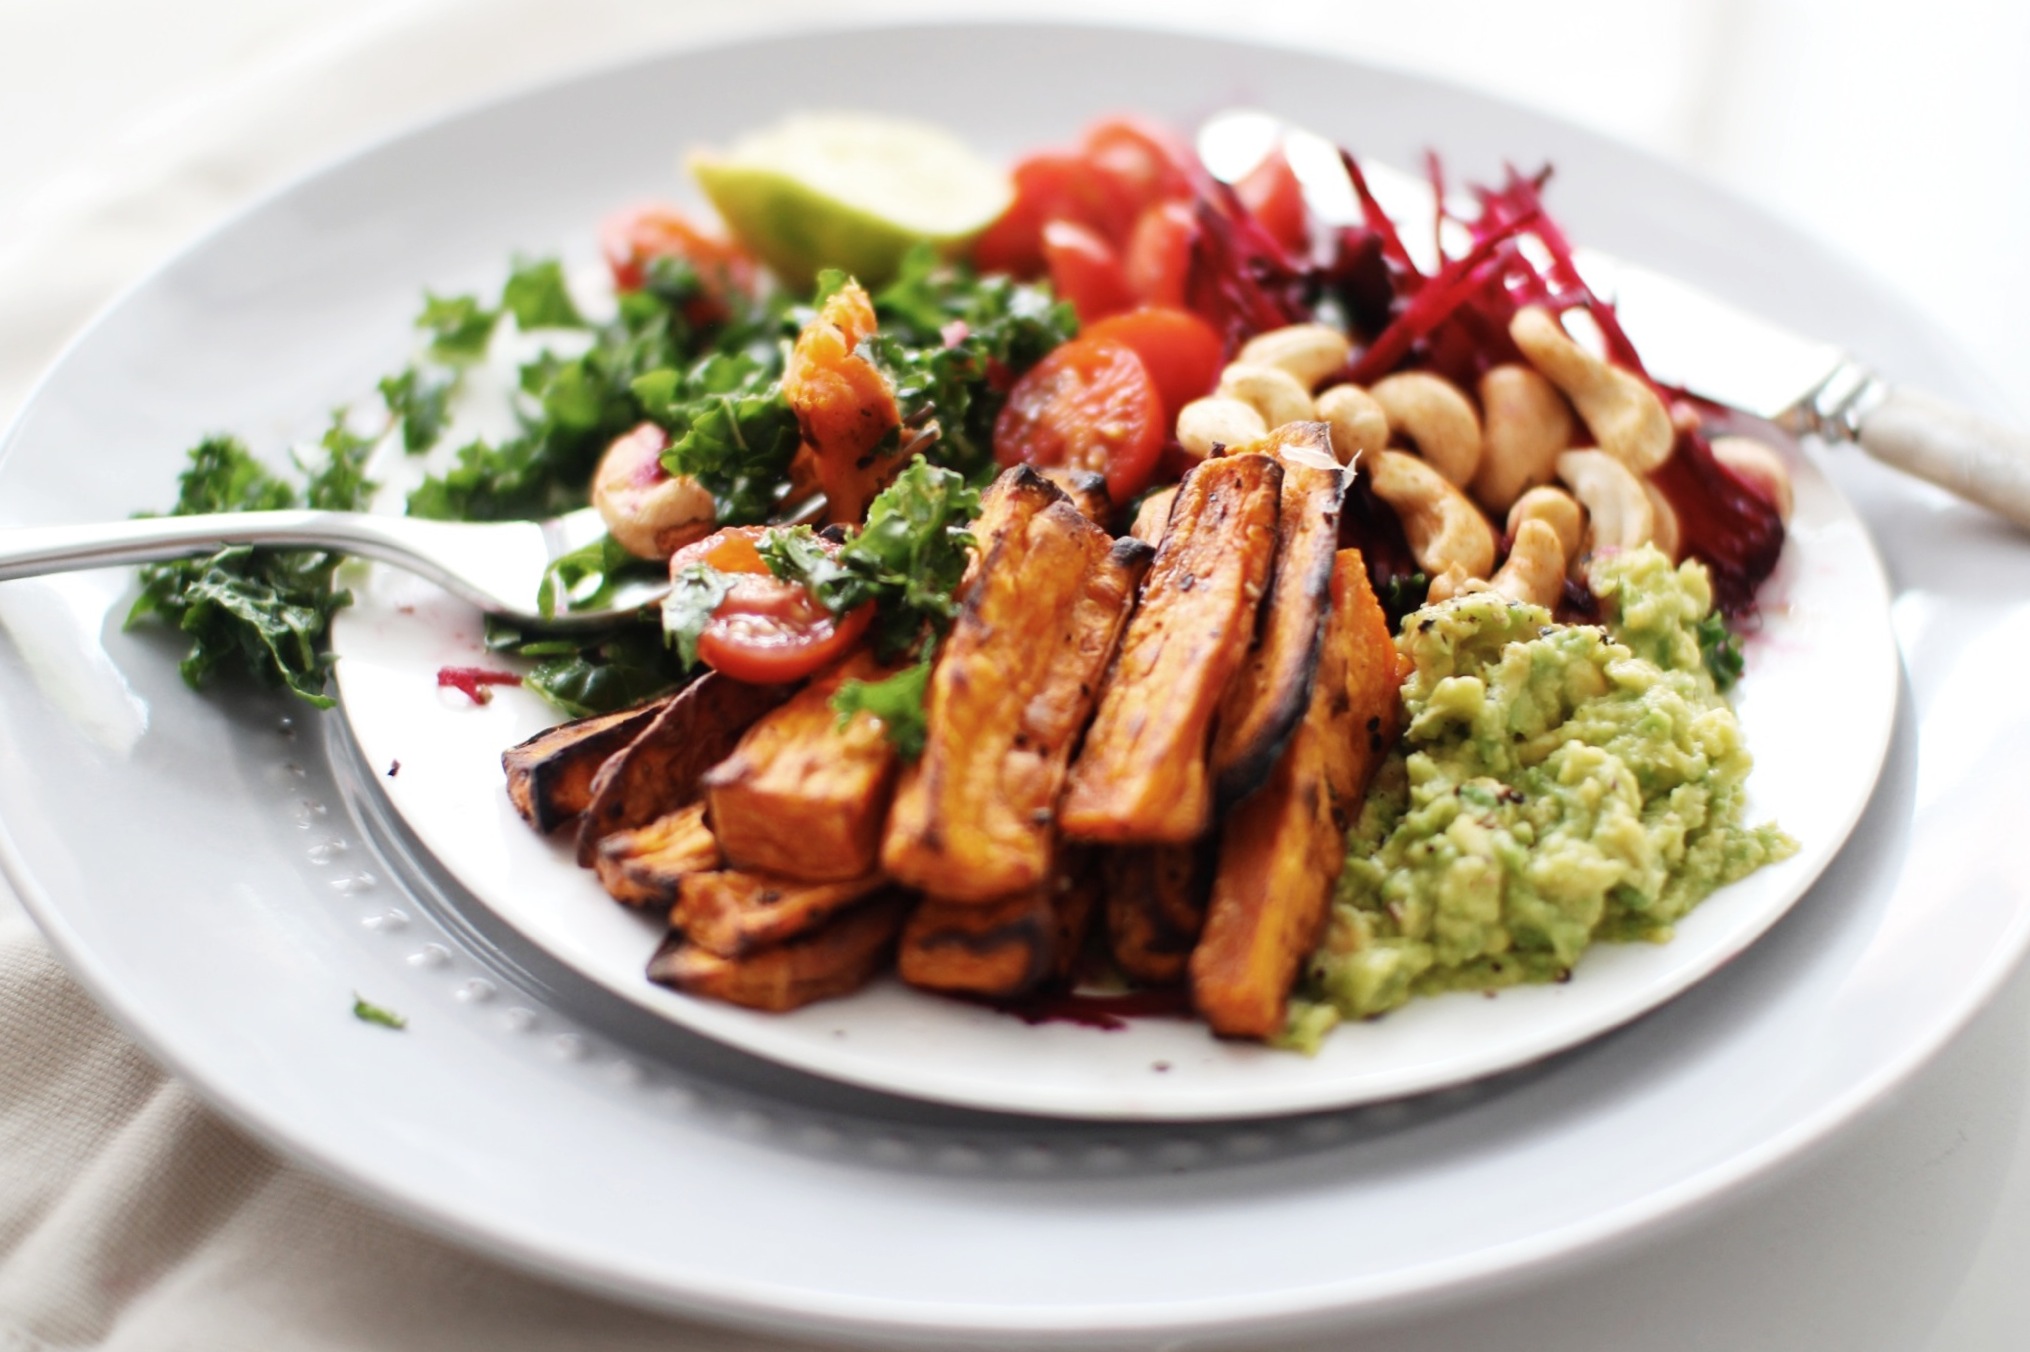
Method: Arrange salad ingredients in a bowl. To make the chickpeas combine with spices and coat evenly. Arrange on an oven tray and bake for 20 minutes at 160 degrees Celsius or until crispy * Combine all the ingredients for the dressing in a small jar and shake vigorously until well-combined and smooth. Top salad with chickpeas, spoon over dressing and sprinkle with black sesame seeds.
* a little hint: if you want your chickpeas to be extra crunchy and delicious, peel the skin off each chickpea before roasting (labour intensive but worth it!)


![image[3]](http://static.squarespace.com/static/544dd801e4b0117bc5e1ded2/54571ffde4b0f61dd0d6fe3b/54572005e4b0f61dd0d701f4/1393387590000/image31.jpeg?format=original)

![image[2]](http://static.squarespace.com/static/544dd801e4b0117bc5e1ded2/54571ffde4b0f61dd0d6fe3b/54572005e4b0f61dd0d701df/1391821212000/image21.jpeg?format=original)
![image[5]](http://static.squarespace.com/static/544dd801e4b0117bc5e1ded2/54571ffde4b0f61dd0d6fe3b/54572005e4b0f61dd0d701e5/1391821217000/image51.jpeg?format=original)