LIZANNE MARR

IBS & Gut Health Dietitian

Filtering by Tag: almond

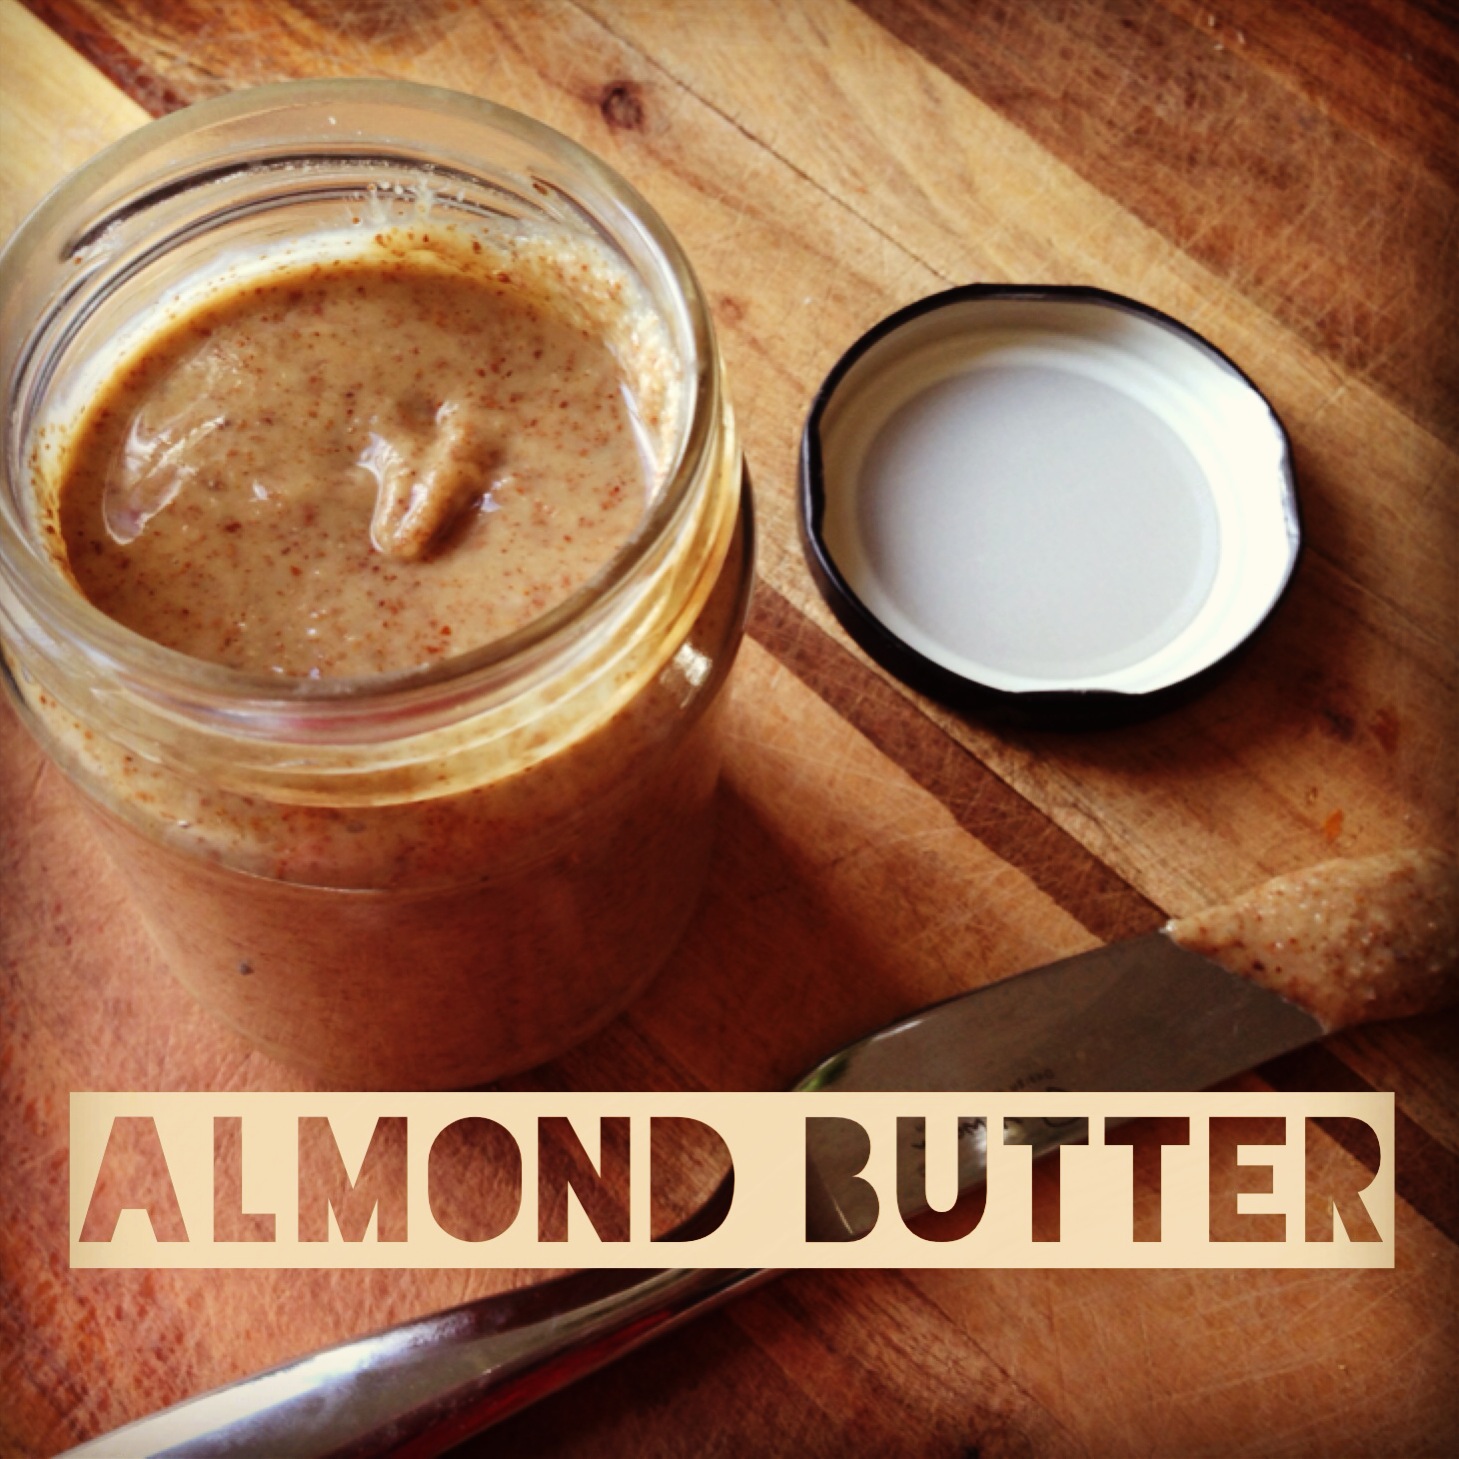
Easy Homemade Almond Butter

I can't believe I have only just discovered the wonderful world of making my own nut butter. I didn't realise it is so easy to do! If you're a nut butter lover like me, you probably go through a jar per week - which can work out to be an expensive addiction in the long run. I like to slather it on most things - oats in the morning, smoothies, fruit, dates - the possibilities are endless! By making your own nut butter you're saving at least 50%. If you live in Australia a jar of nut butter bought at Woolworths costs anything from $7 up, but only costs around $4 if you make the equivalent amount at home. Yippee!!

Why bother you ask? Well.......

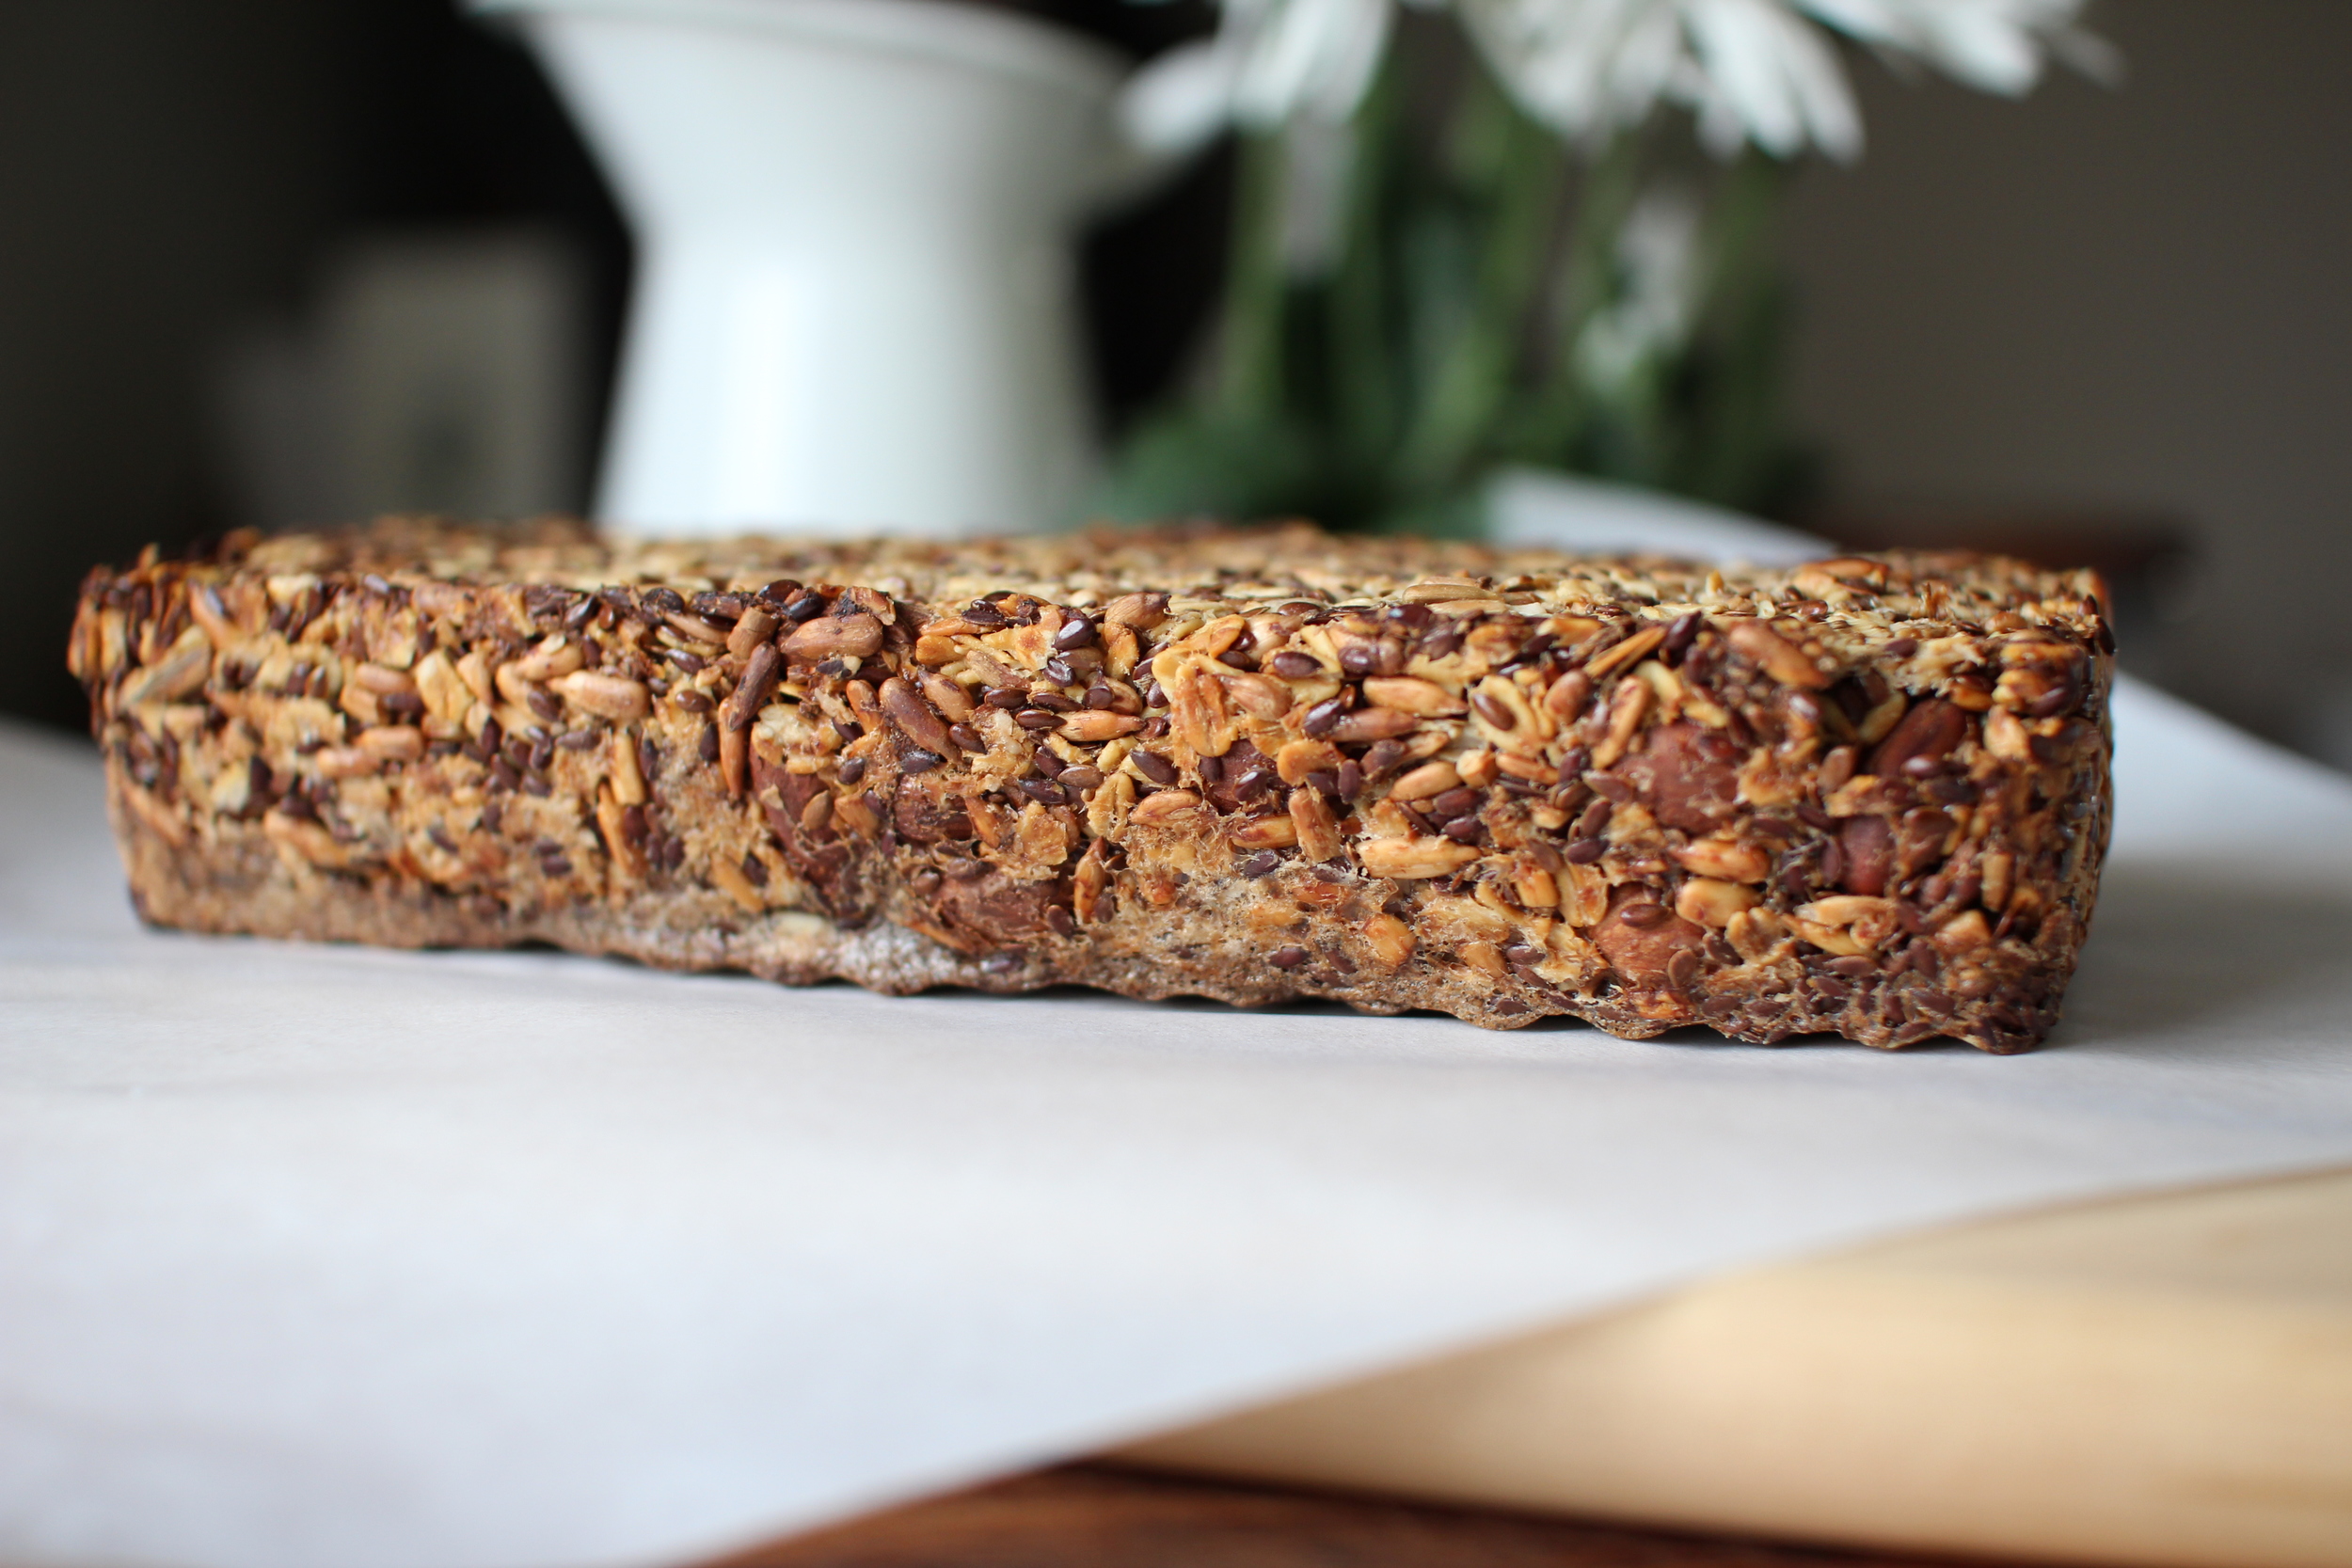
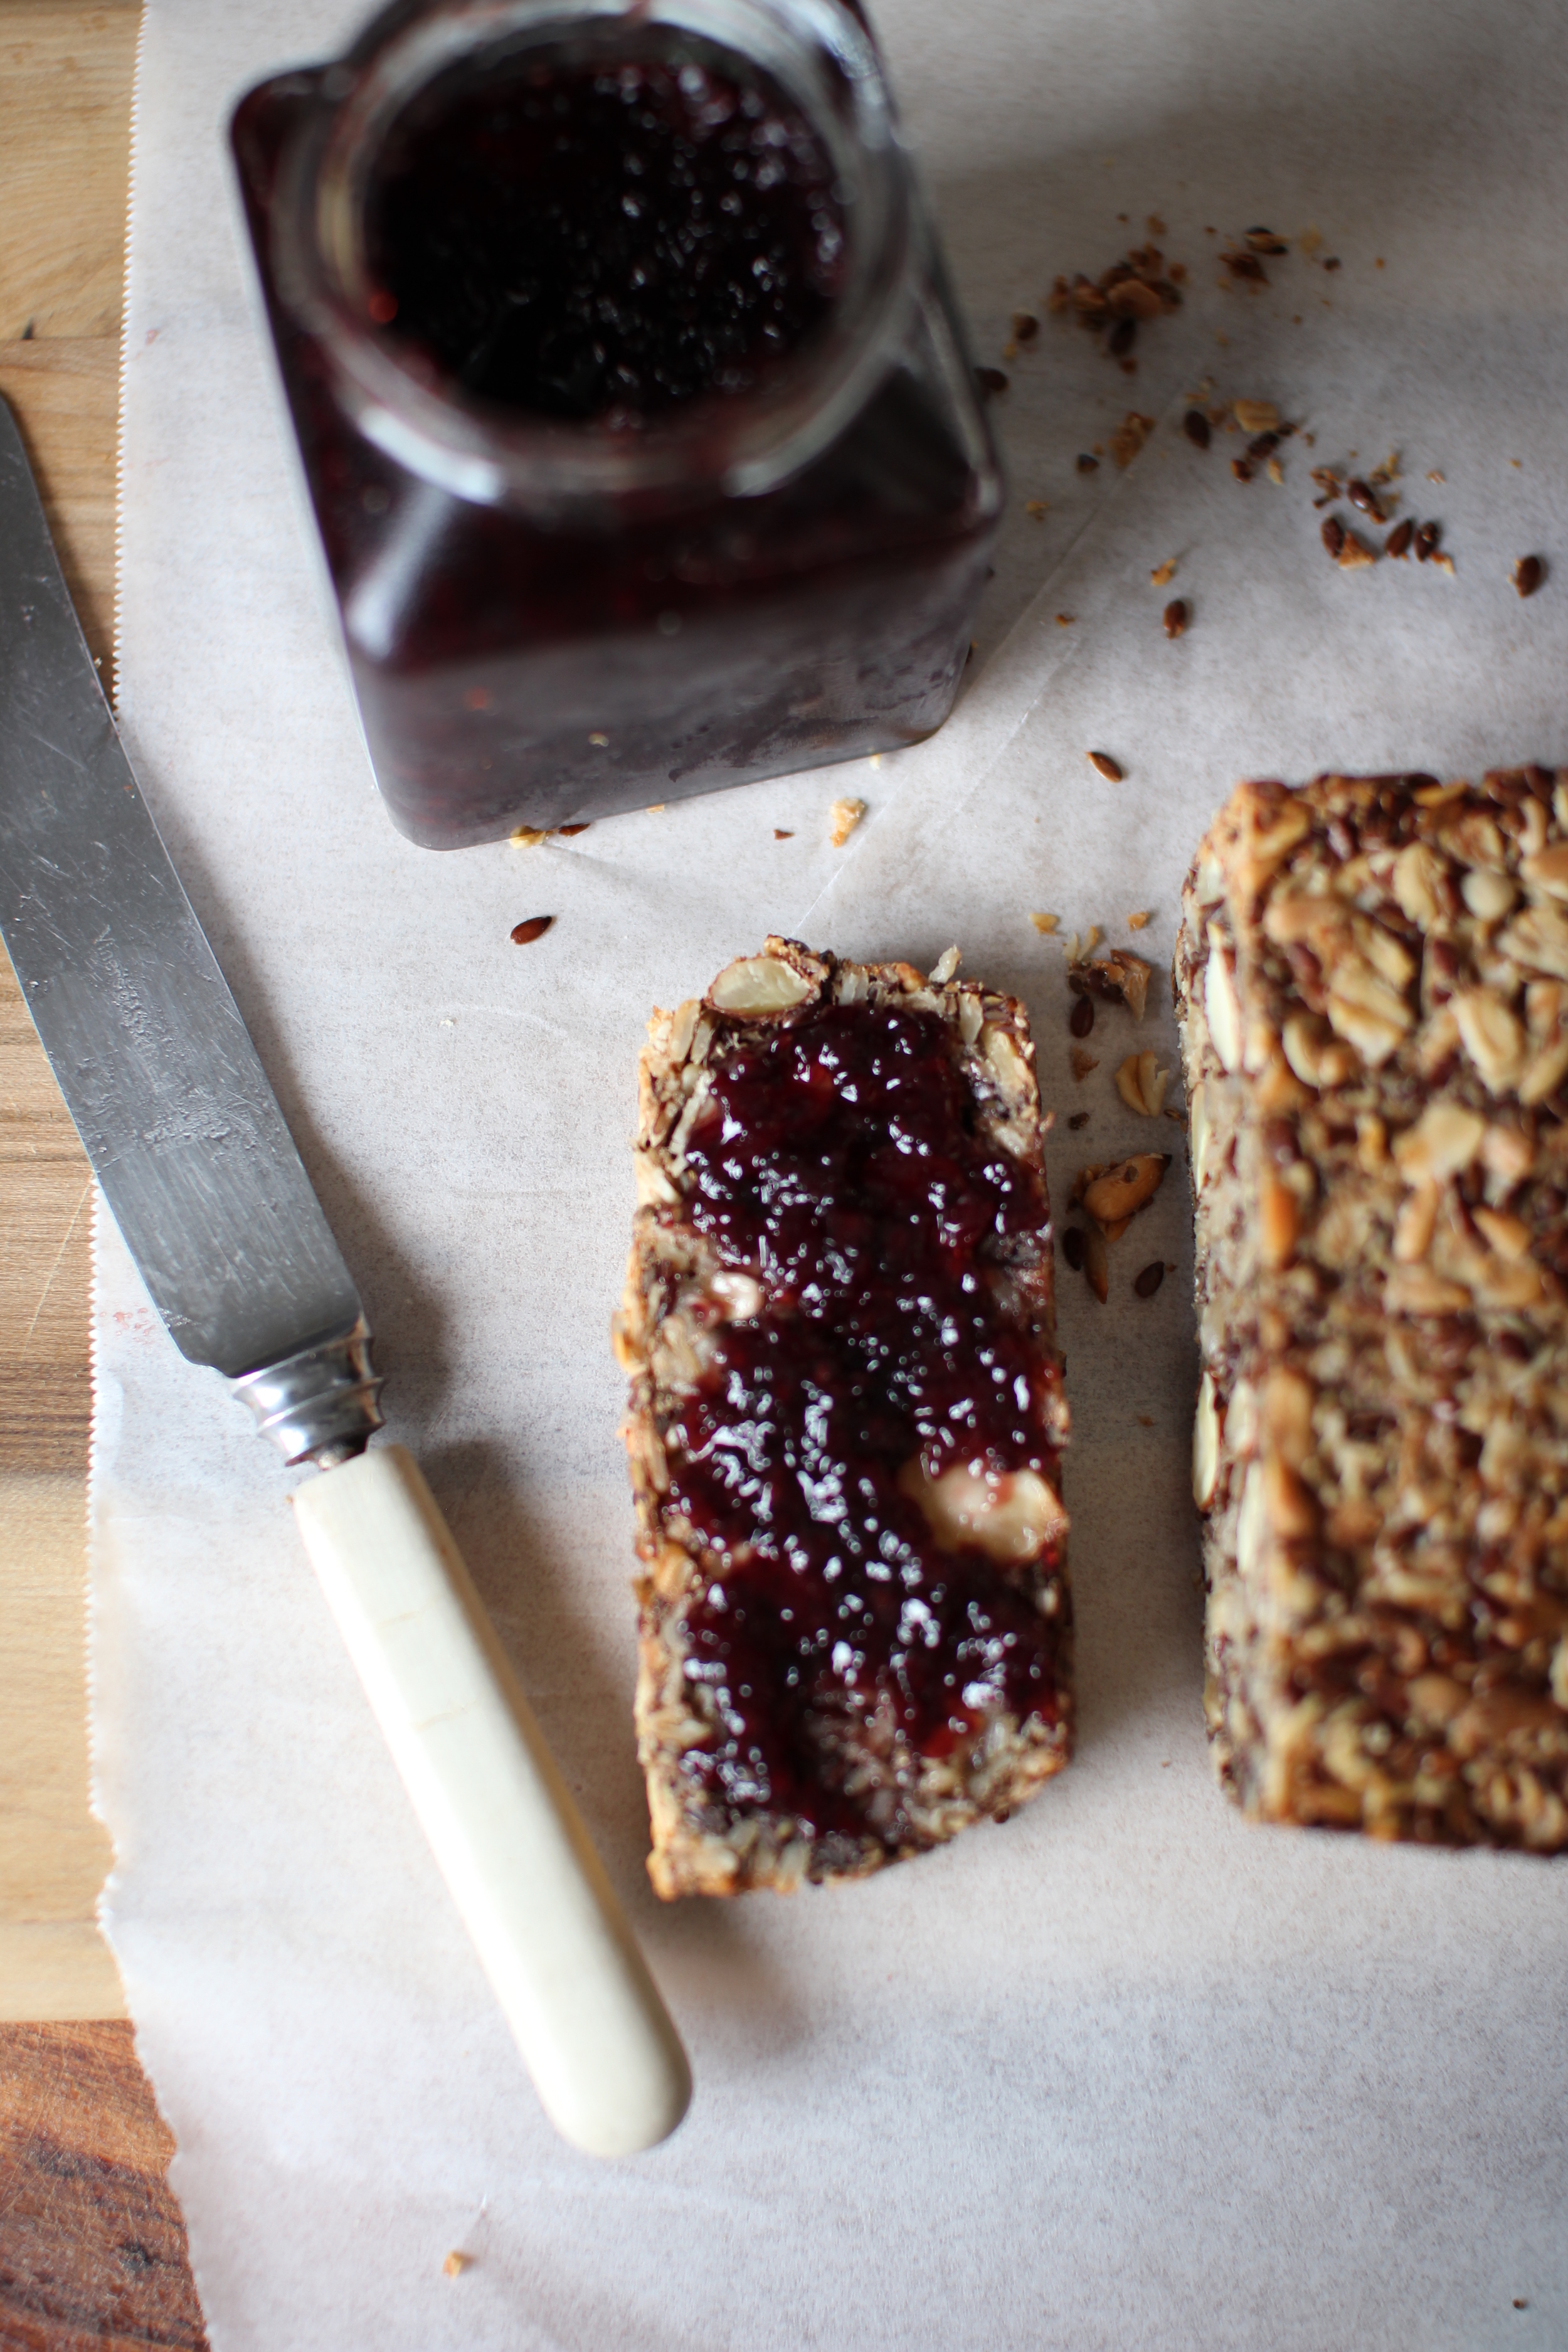
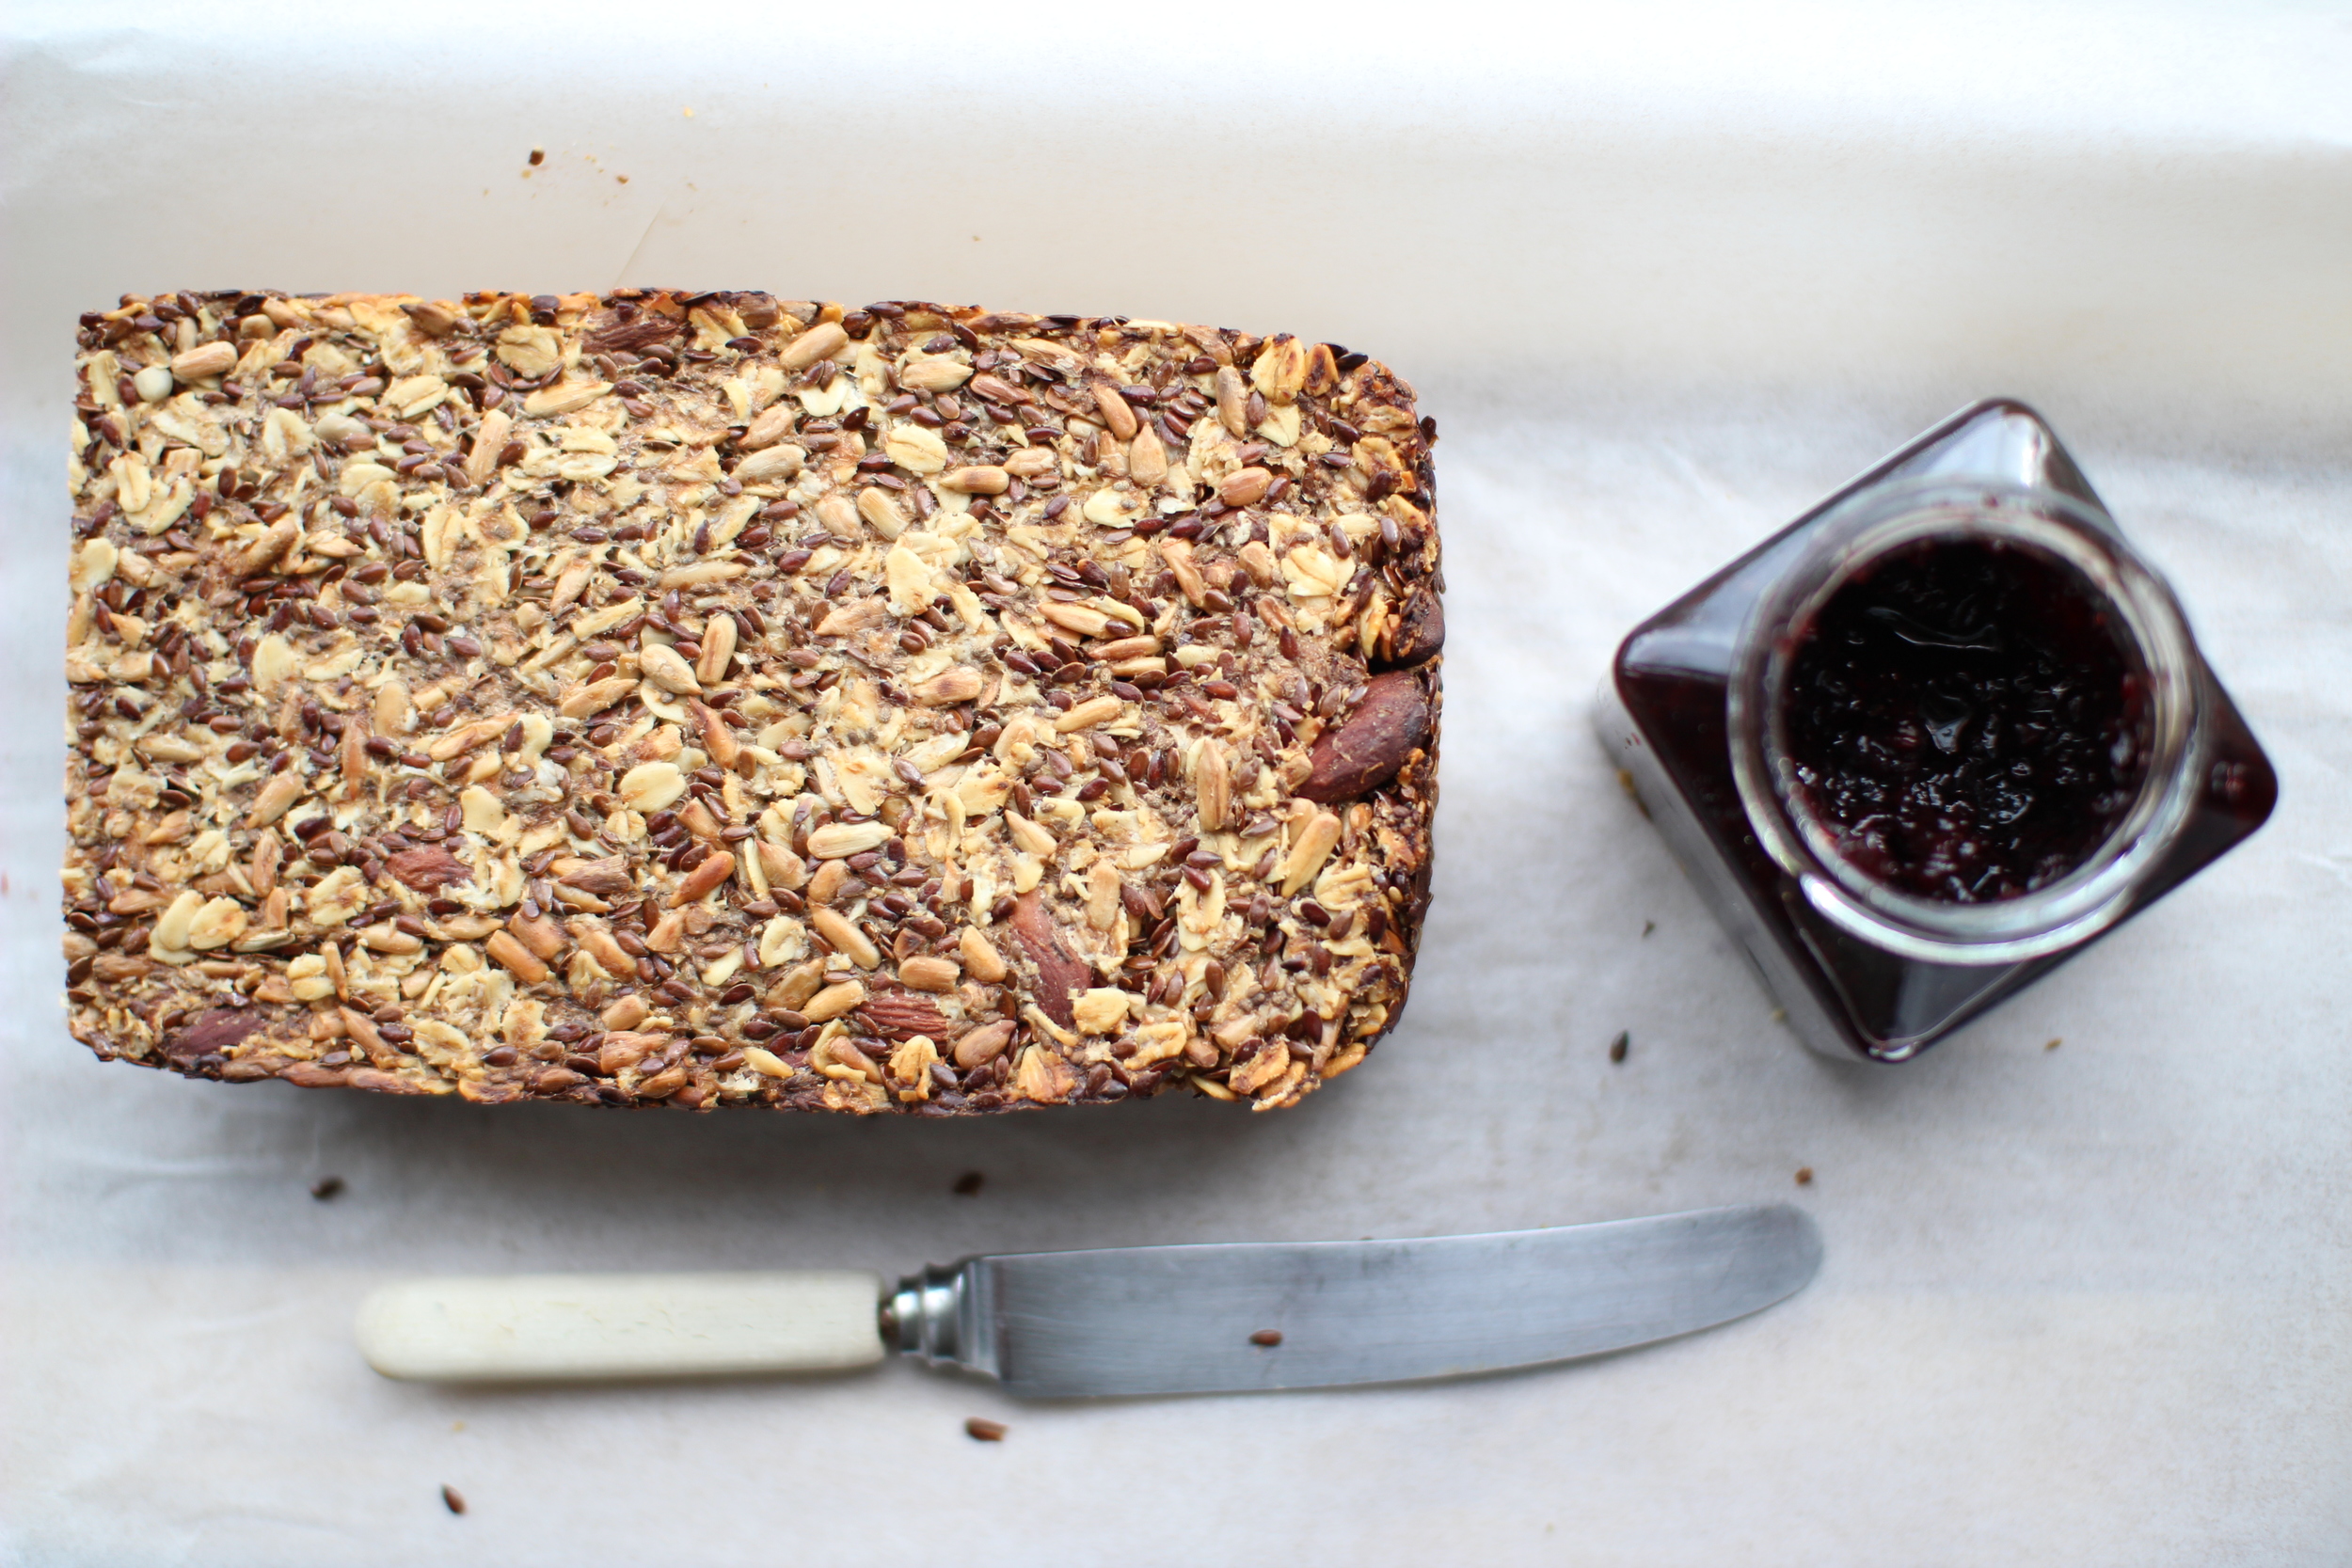
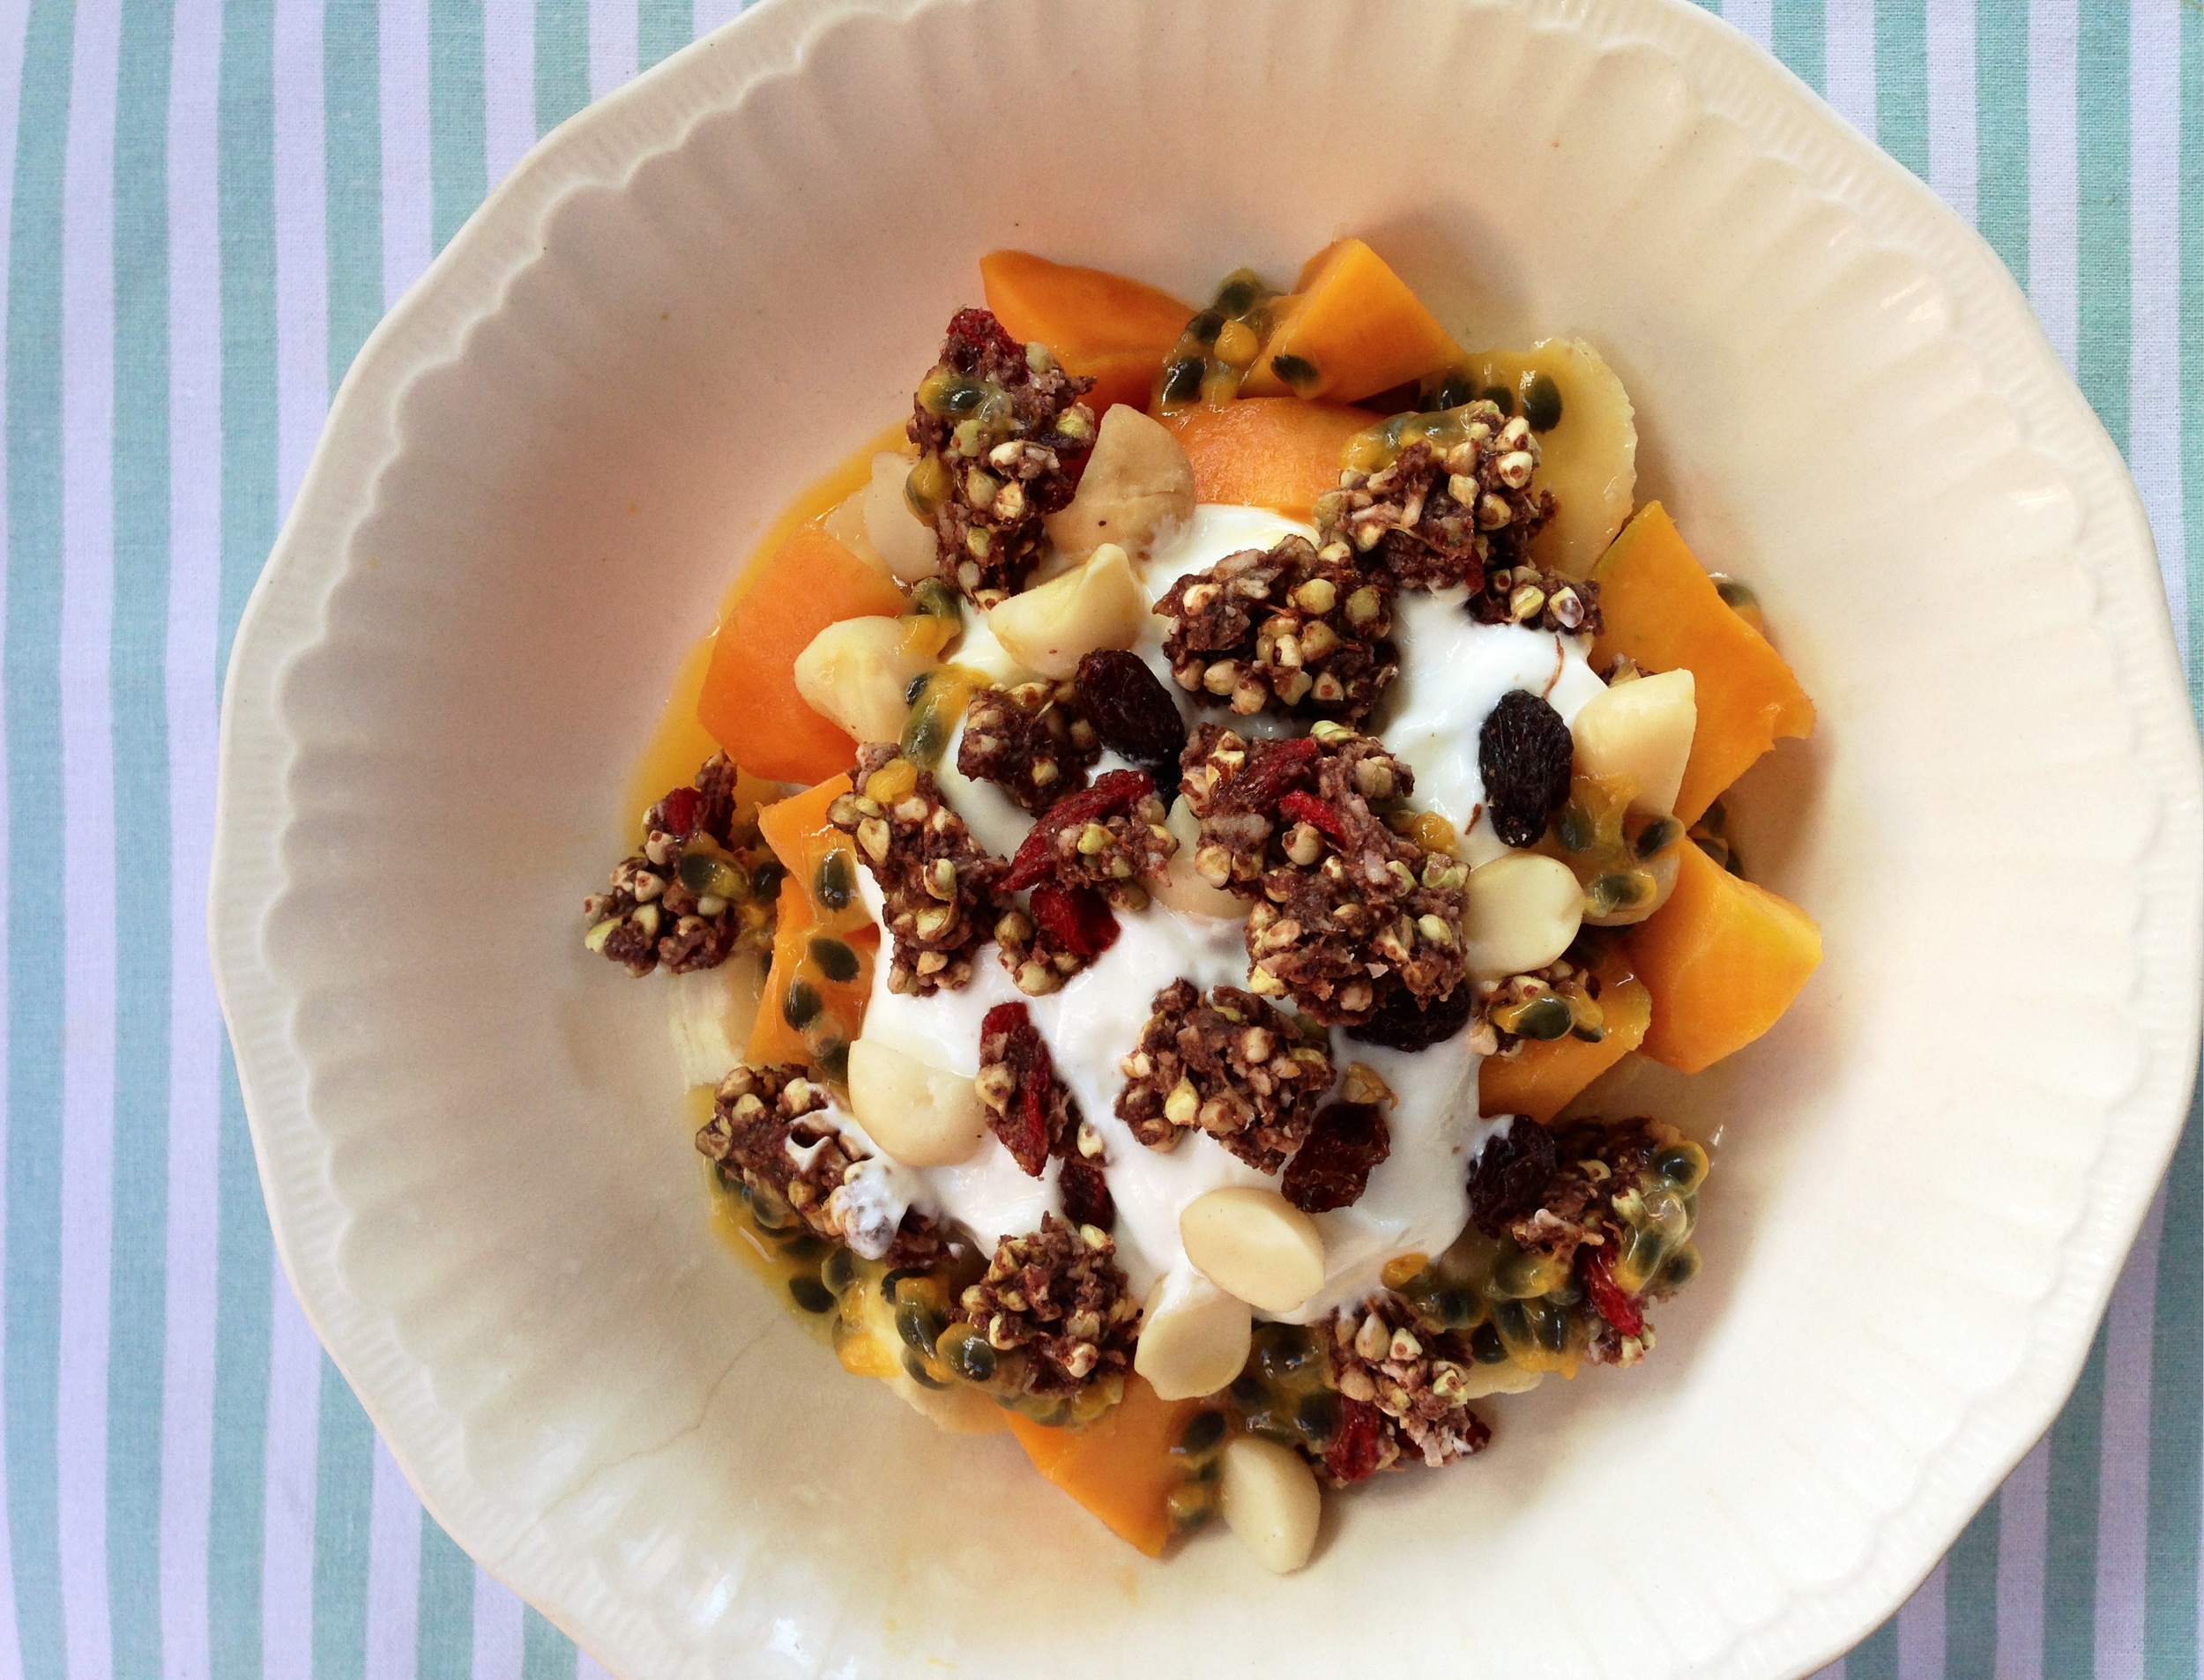
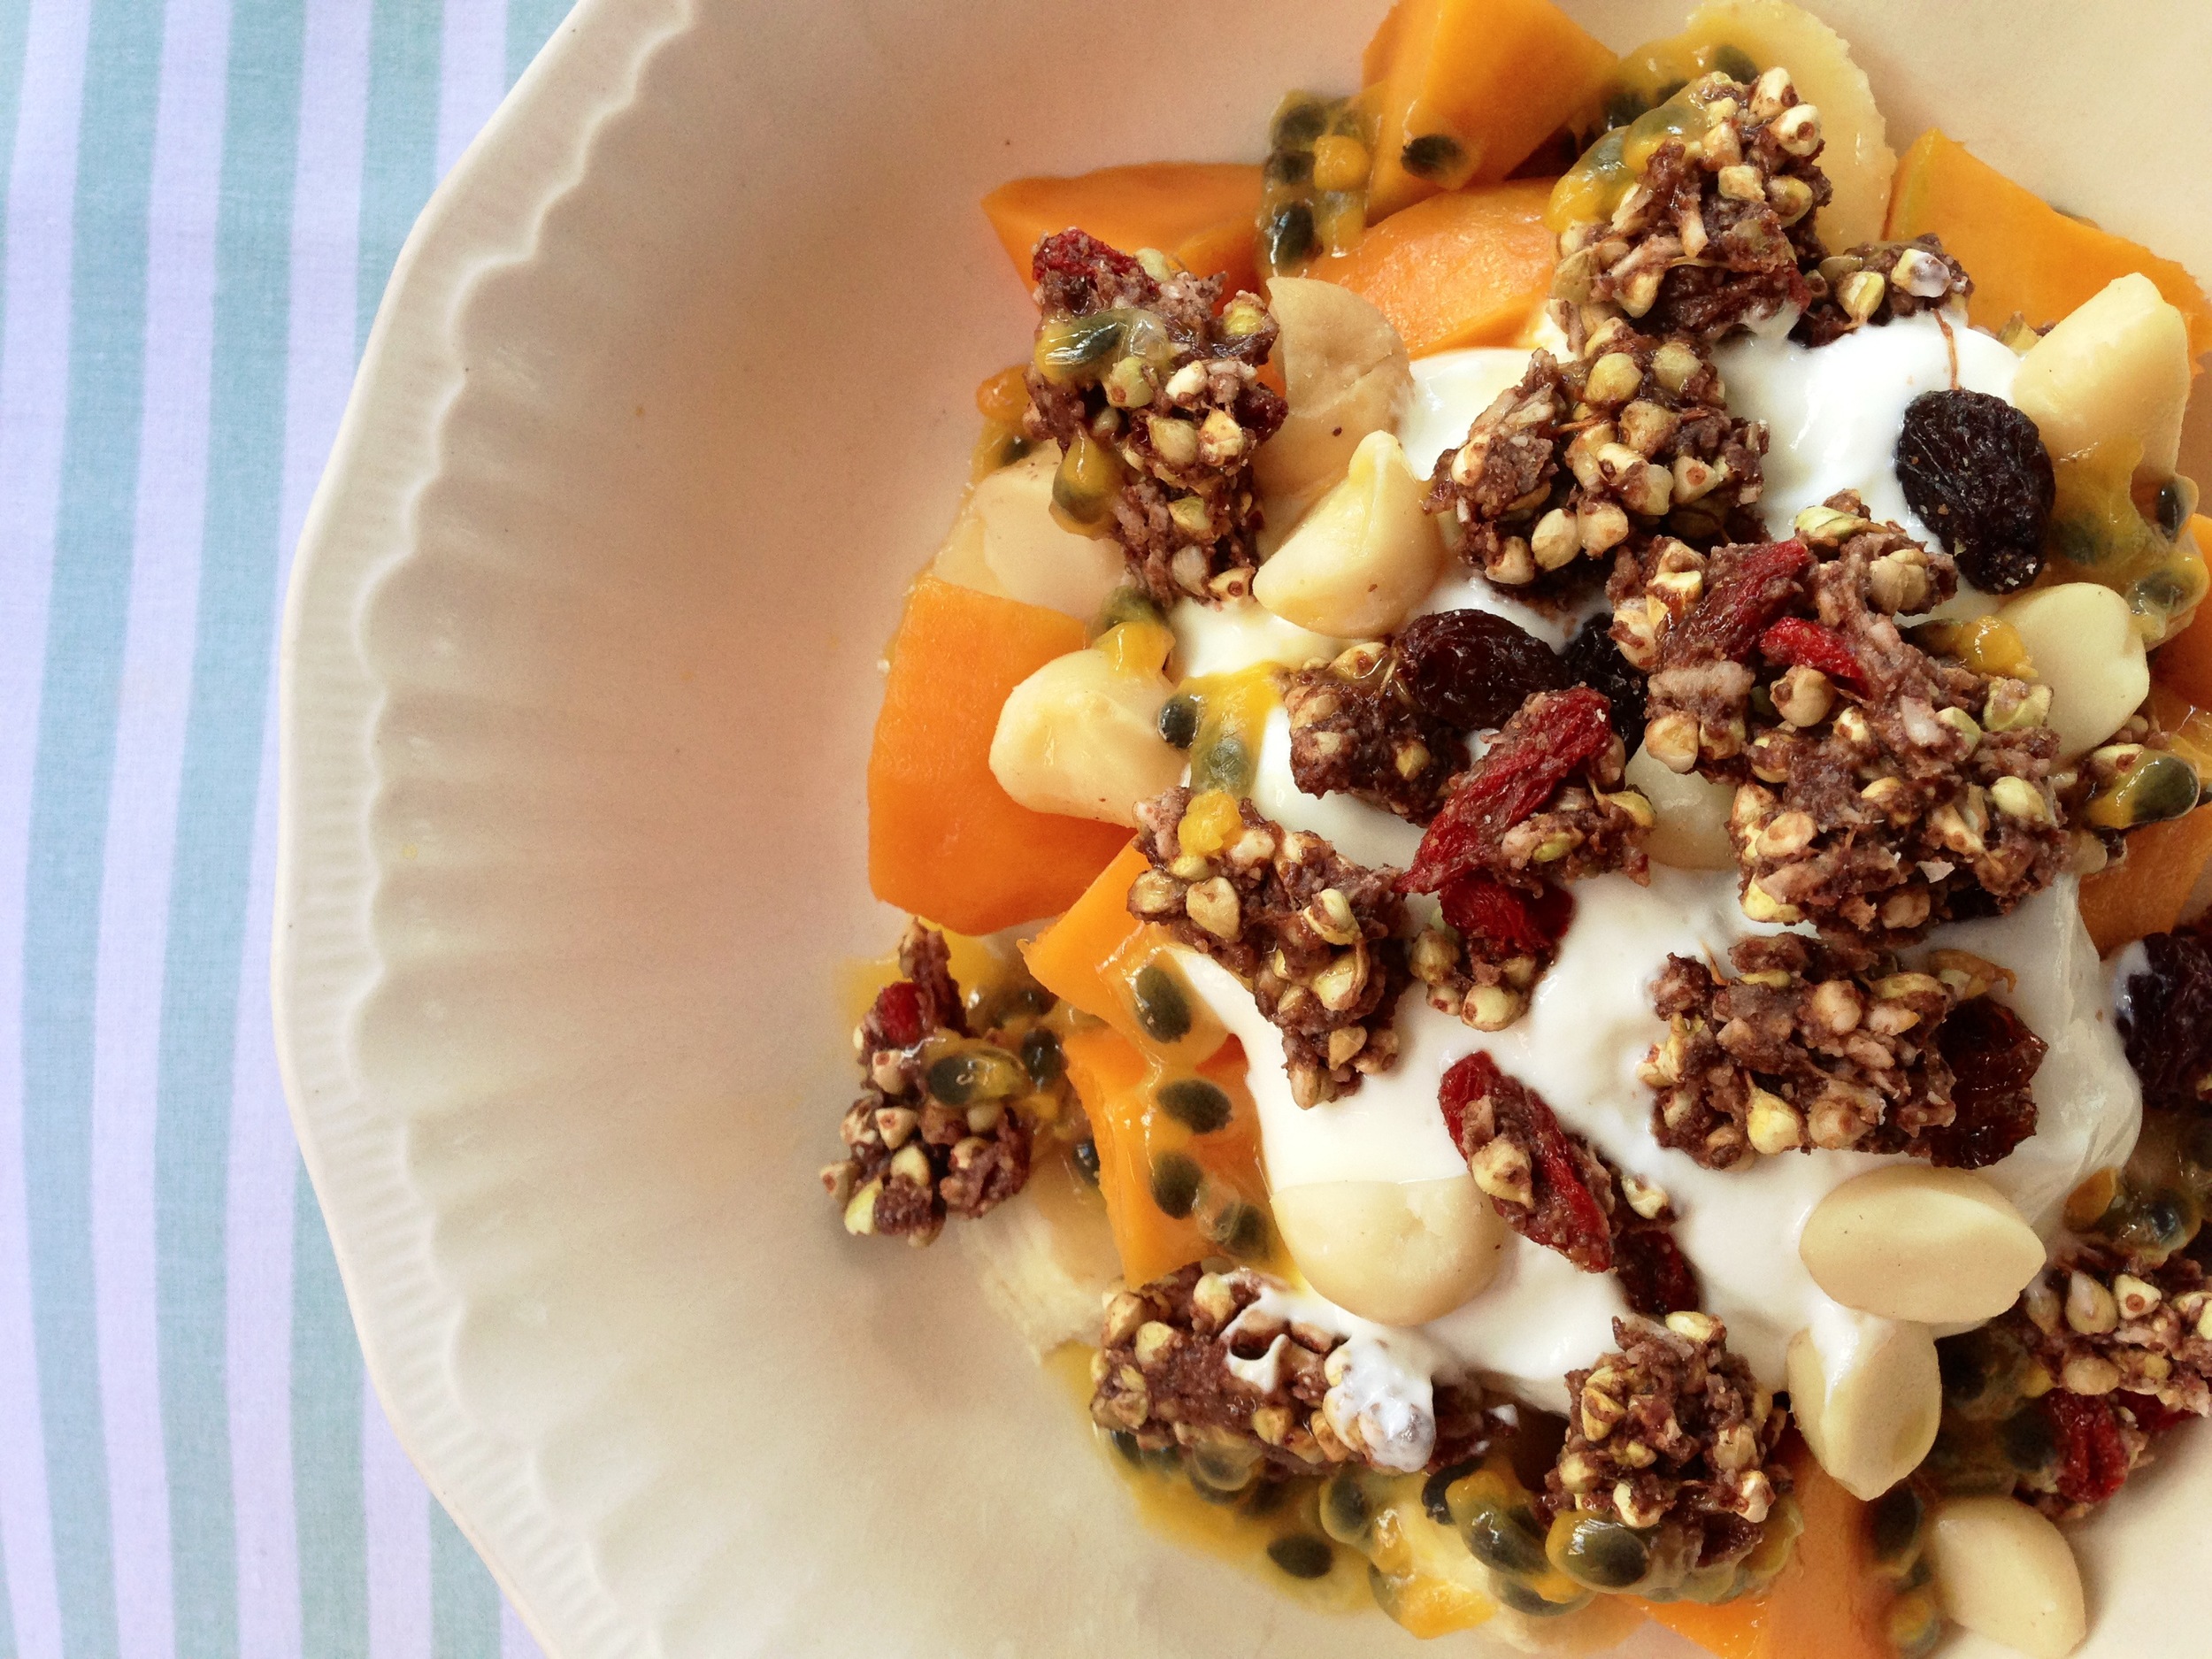
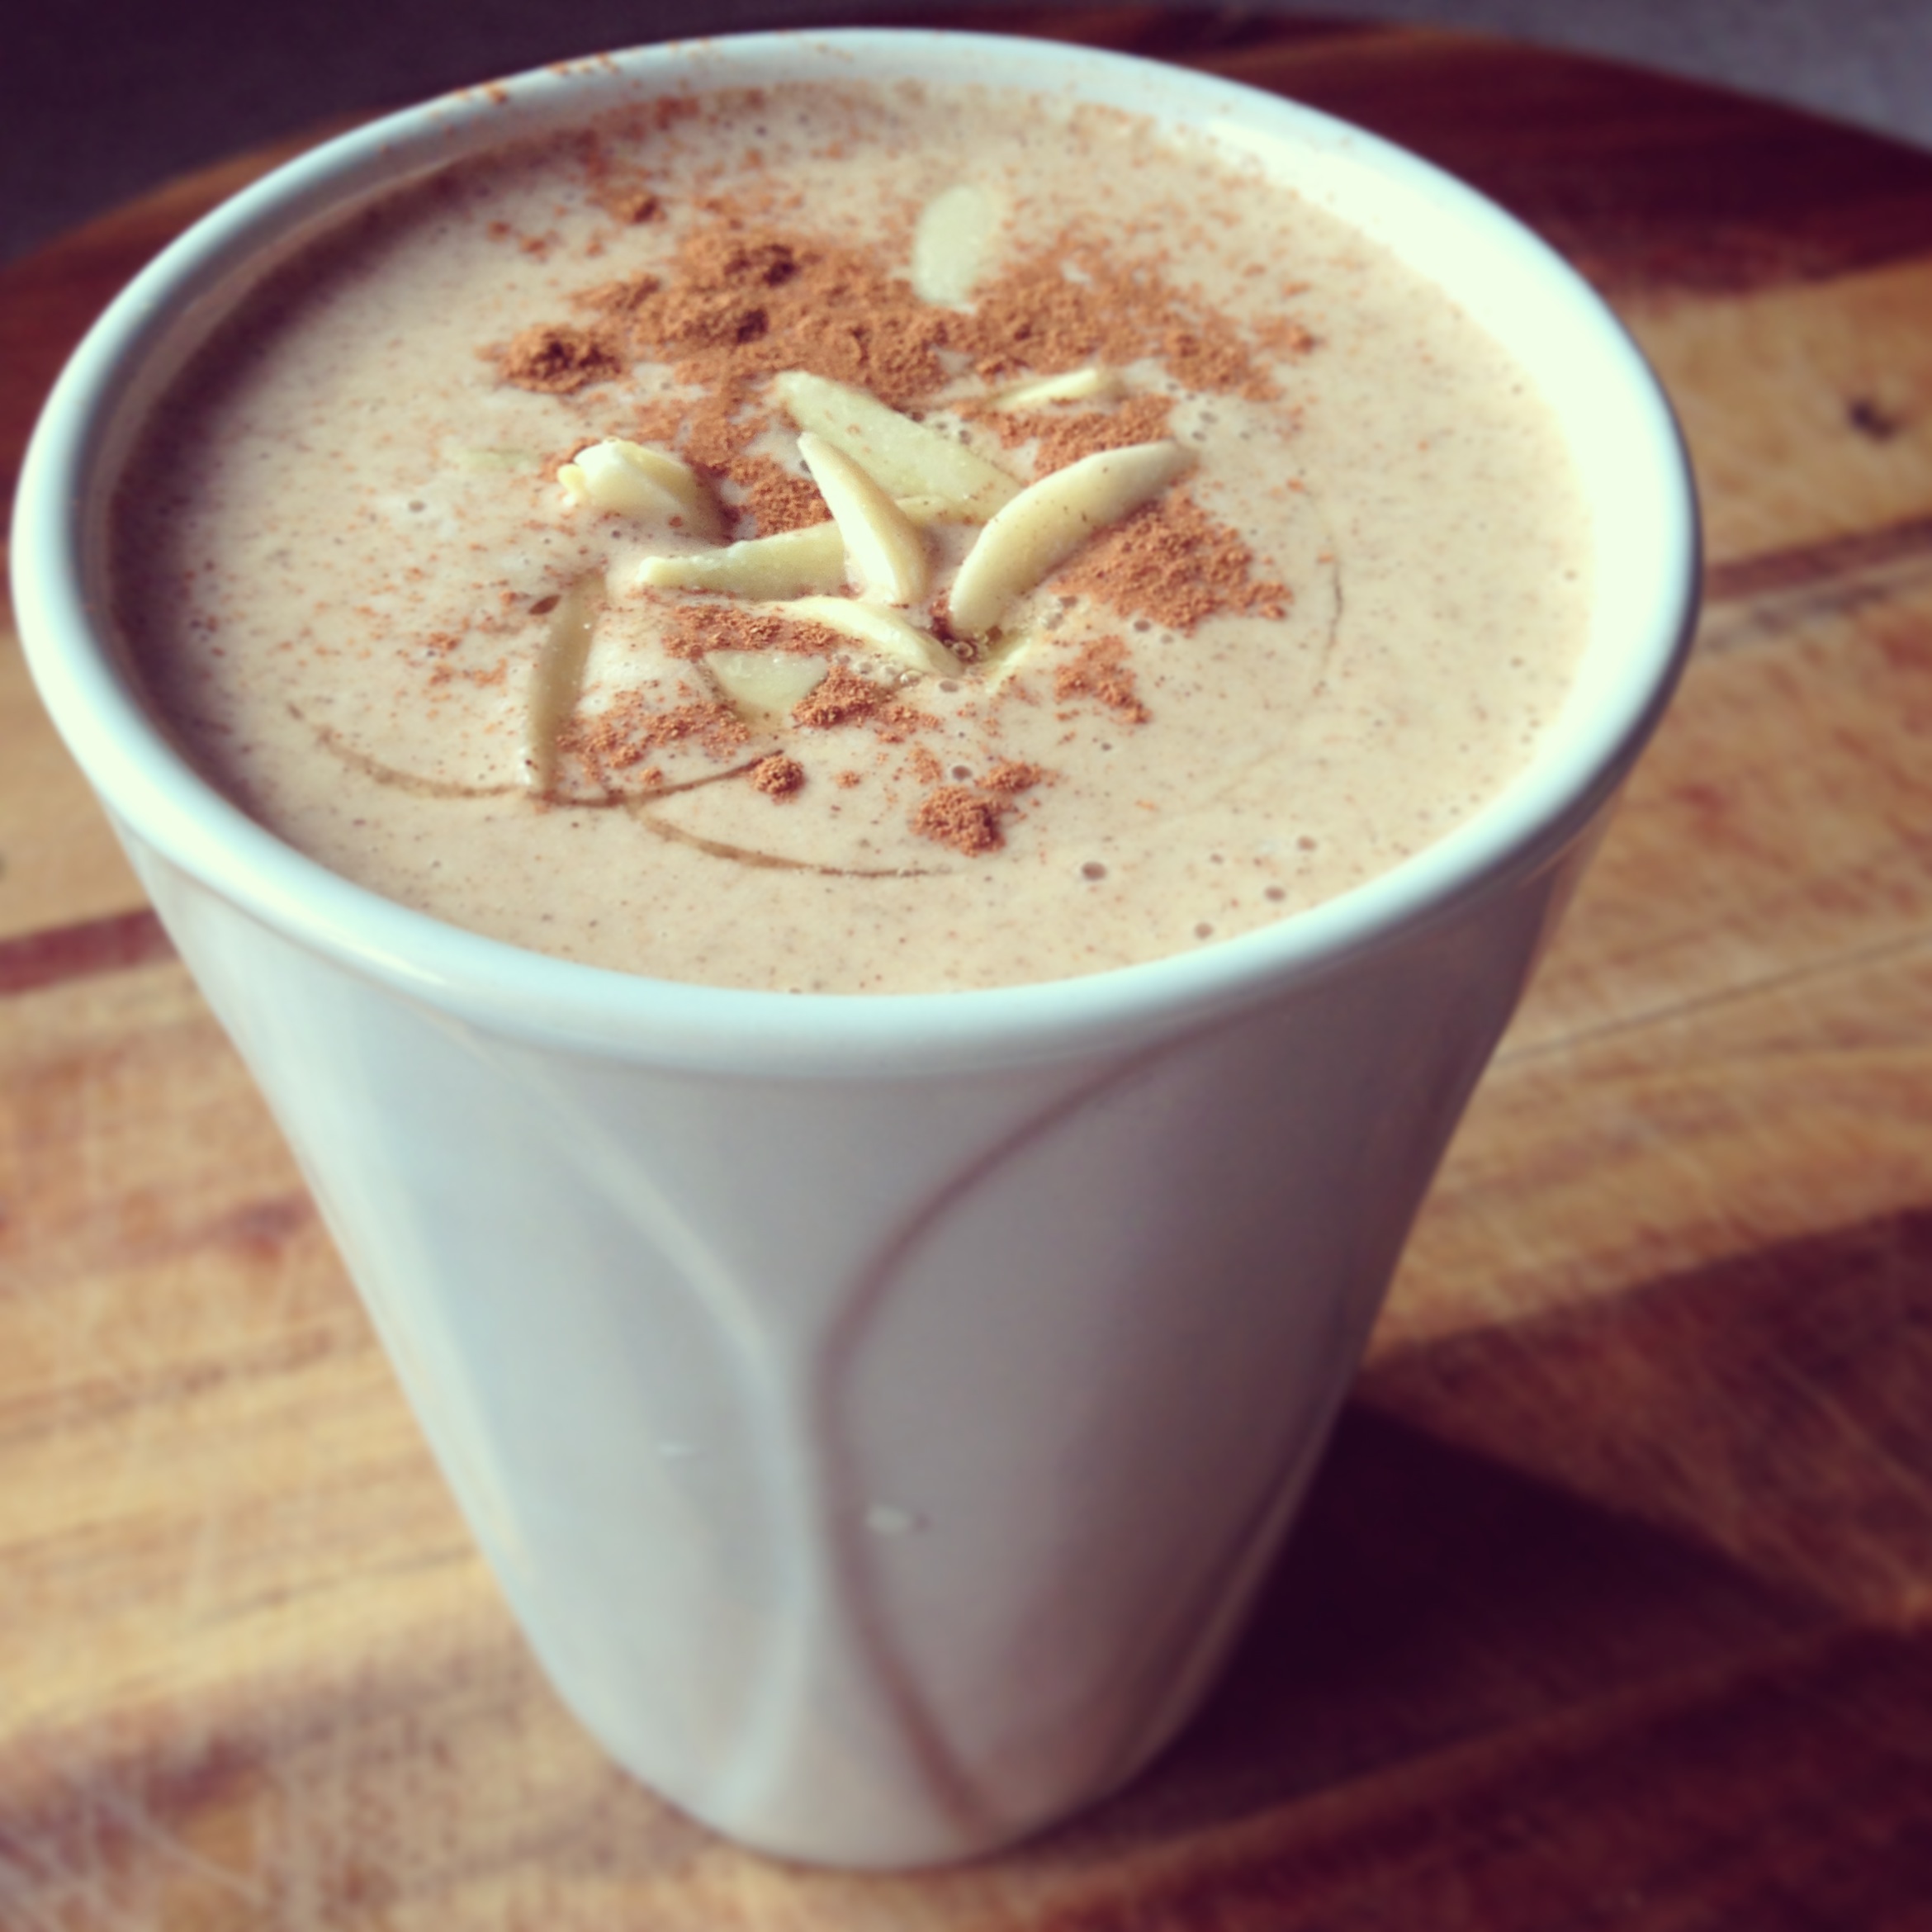
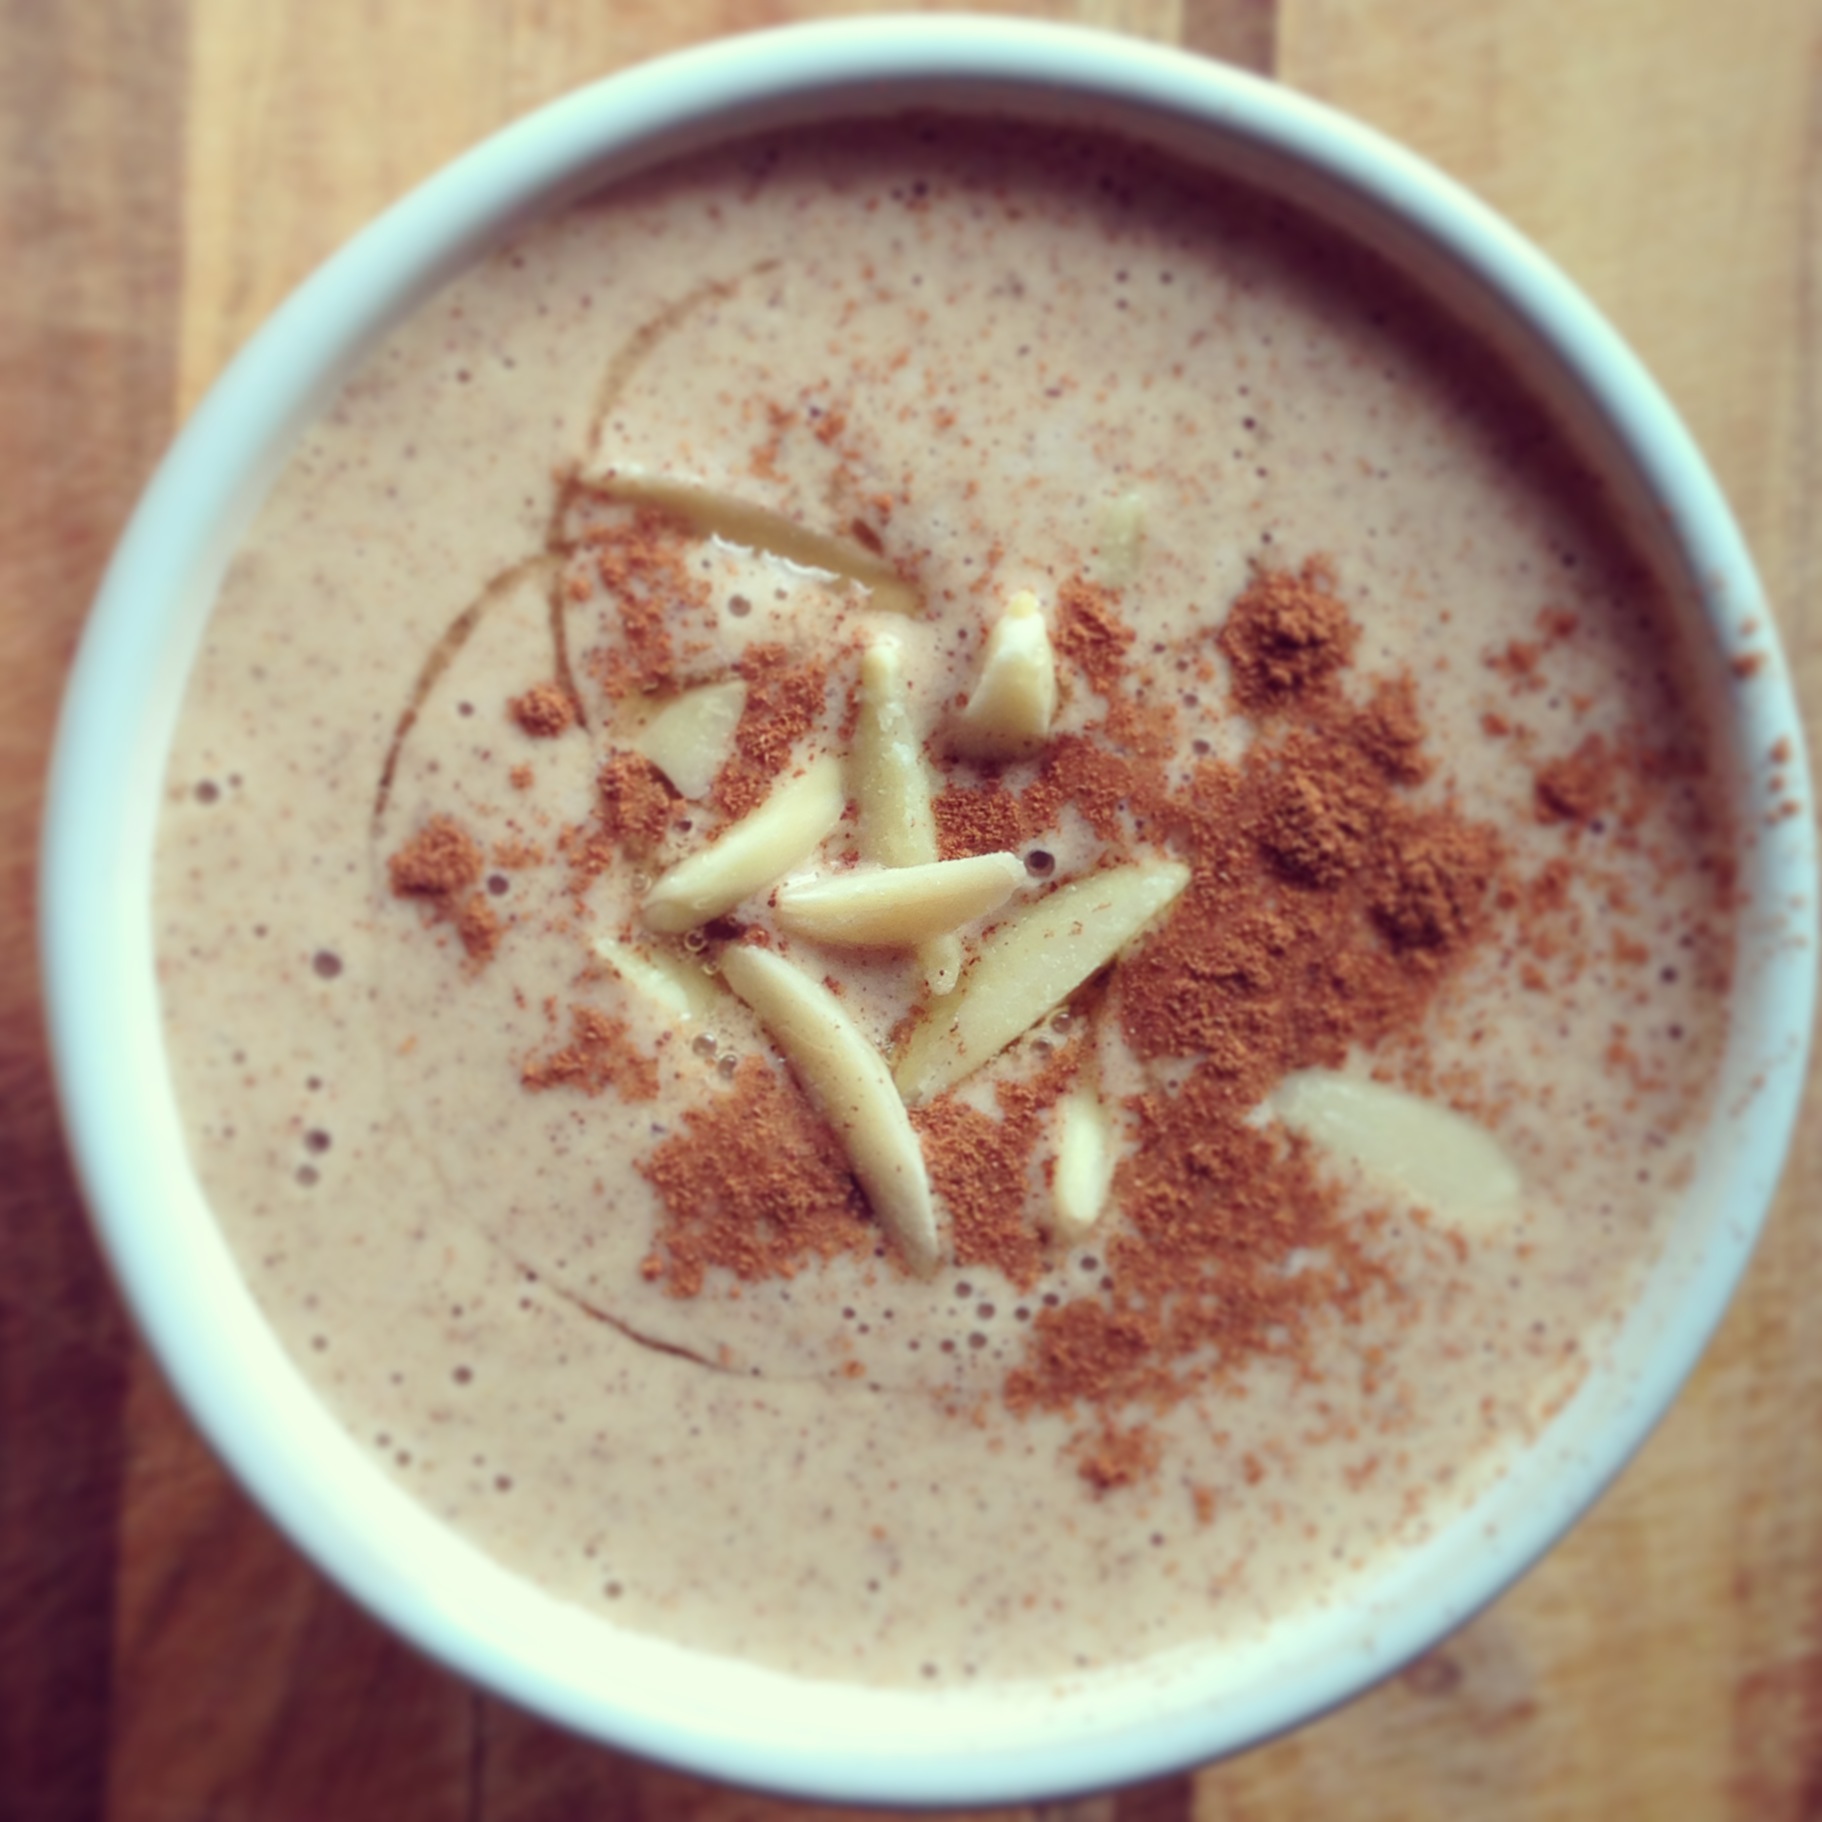
Nuts are a really good source of "healthy fats" which has been shown to be beneficial for your heart and also your brain (if they're the omega-3 type of oils). Nuts are also high in protein and high in fibre - which is perfect for keeping you full and curbing cravings for sugary snacks. By grinding your nuts into a nut butter you've just opened up a whole new world of possibilities...no more boring trail mix for snacks! You can use it as a spread on this bread with some banana and honey. You can add into smoothies like this one. You can spread on fruit for a snack or fill a medjool date - my favourite!! You can even add it to ice-cream - yum!! Endless fun to be had. Best of all, it is really easy to make.

Ingredients (makes one small jar of nut butter)

2 cups of almonds (or add in a mix of nuts like brazil nuts, cashews, sunflower seeds, chia etc.) Optional additions: 2 tablespoons of oil (coconut or macadamia), maple syrup

Method

Add nuts to a blender and blend on high to form a "flour" consistency. Then blend on medium speed until creamy and buttery. It is that simple! Really! All you need is a little patience. The process usually takes between 10 to 15 minutes for 2 cups of nuts. If you don't have a high power blender the process may take up to 20 to 25 minutes. You may need to stop the blender and scrape down the sides of the blender every now and then. The main thing is to be patient. At first the consistency will become floury, then crumbly with some moisture, and then finally the buttery silky consistency will start to appear. If you want a deeper toasted and creamy texture you can roast your nuts for 5 to 10 minutes in the oven before blending. However, I like to have raw nut butter. It is really up to you.

Now go spread that nut butter on something...

The Life-Changing Bread

I love bread. It is definitely one of my weaknesses. If I didn't know better and didn't have all the nutritional knowledge from studying for 6 years, I'd probably eat french bread sticks and sourdough from my local baker with lashing of butter at every meal. But unfortunately (and fortunately for my health and yours!) I do have the knowledge.

By no means am I saying that bread is bad for you. There is definitely a place in a wholesome, well-balanced diet for bread that has been made from good quality ingredients in small amounts. But unless you're willing to fork out $8-$12 for a good quality bread these days (or have the skills of a Danish bread maker) you're stuck with the mass-produced loafs from the supermarkets. These are often laden with processed wheat products, soy flour, colours, preservatives, sugars and syrups. If this is news - learn to read your labels.

One of my passions is to create healthy versions of everyday foods and dishes, and to encourage others to do the same. I simply had to look for a healthy alternative. These sorts of pursuits don't often stop until I find what I look for and it has ticked all my nutritional boxes. It didn't take me long though, to find this life-changing bread that was geniusly invented by Sarah at My New Roots. When I saw it, I simply had to try it. The end result was a very impressed dietitian with a huge smile on her face holding a piece of life-changing bread in her hand. With lashings of homemade jam (my treat).

The best thing about this bread? It actually is HEALTHY for you. And it is REALLY easy to make, with minimum kitchen mess. You the combine ingredients, stir, soak, and bake all in the one dish - perfect!

Here is the recipe from the My New Roots blog

Ingredients:

Makes 1 loaf

  • 1 cup / 135g sunflower seeds
  • ½ cup / 90g flax seeds
  • ½ cup / 65g hazelnuts or almonds
  • 1 ½ cups / 145g rolled oats ( contains far less gluten than bread)
  • 2 Tbsp. chia seeds
  • 4 Tbsp. psyllium seed husks (3 Tbsp. if using psyllium husk powder)
  • 1 tsp. fine grain sea salt (add ½ tsp. if using coarse salt)
  • 1 Tbsp. maple syrup (for sugar-free diets, use a pinch of stevia)
  • 3 Tbsp. melted coconut oil or ghee
  • 1 ½ cups / 350ml water

Directions:

1. In a flexible, silicon loaf pan combine all dry ingredients, stirring well. Whisk maple syrup, oil and water together in a measuring cup. Add this to the dry ingredients and mix very well until everything is completely soaked and dough becomes very thick (if the dough is too thick to stir, add one or two teaspoons of water until the dough is manageable). Smooth out the top with the back of a spoon. Let sit out on the counter for at least 2 hours, or all day or overnight. To ensure the dough is ready, it should retain its shape even when you pull the sides of the loaf pan away from it it.

2. Preheat oven to 350°F / 175°C.

3. Place loaf pan in the oven on the middle rack, and bake for 20 minutes. Remove bread from loaf pan, place it upside down directly on the rack and bake for another 30-40 minutes. Bread is done when it sounds hollow when tapped. Let cool completely before slicing (difficult, but important).

4. Store bread in a tightly sealed container for up to five days. Freezes well too – slice before freezing for quick and easy toast

Crunchy Choc Almond Butter Cups

I've been wanting to make these for sooooo long...and finally Easter seemed like the perfect opportunity!

These are so delicious and 100% satisfying - I devoured 2 or 3 the day I made them (...oops!).

What better way to enjoy chocolatey goodness on Easter than these little beauties!?

This is the perfect treat for when you feel like something naughty but don't want to be naughty...it is a wholesome treat you can enjoy (in moderation) without the guilt.

Ingredients: Half cup cacao powder Half cup coconut oil 2 tablespoons maple syrup or stevia equivalent 1 tbsp cacao nibs (optional - makes it crunchy!) Quarter (1/4) cup almond butter slivered almonds

Method: Combine the cacao powder, coconut oil, and syrup together in a bowl and stir vigorously until the mixture is thick but pourable. Pour the chocolate mixture into small cupcake moulds, only filling them halfway. Refridgerate. Once set, top with a small amount of almond butter. Add the cacao nibs to the remaining chocolate mixture and pour over each mould. Top with slivered almonds. Refridgerate until set. Take the chocolates out of the moulds and store in an airtight container in the fridge.

Yum yum!

I think these are my new favourite way to enjoy chocolate the healthy way!

What is your favourite healthy sweet treat?

Sprouted Buckwheat Granola

ooohhhhh granola...

...there's something about the crunch that makes you want to go back for more. And why wouldn't you? This one is super duper nutritious with loads of flavour!


Buckwheat is a wonderous little grain-like seed that is not related to wheat at all so its naturally gluten-free and wheat-free (yay for all our gluten intolerant friends)!

It is really high in fibre and has a low Glycaemic Index (GI) which means you have sustained energy throughout the day and you'll feel fuller for longer - great for weight loss or maintenance!


Ingredients: 2 cups buckwheat groats (soaked and sprouted) 2 bananas 1/4 of a cup chia seeds 2/3 of a cup almonds 2 tbs acai berry powder (optional) 2 tbs agave syrup 1/2 cup of shredded coconut 1/3 of a cup goji berries 1/2 cup macadamia nuts 1/4 cup sultanas

Method: Soak 2 cups buckwheat groats and let them do their magic by sprouting! There is a really helpful tutorial on how to sprout buckwheat here.

Next, combine the chia seeds, almonds and acai berry powder in a blender and blend to a fine consistency. Add the banana and agave syrup and blend until a paste is formed. If the mixture is too thick you can add a little water to make it thinner (you dont want the consistency to be too thin, but it needs to be thick enough to hold together when mixed with the buckwheat to form clusters when dried). Scoop mixture into a bowl and add sprouted buckwheat, shredded coconut and goji berries. Mix well.


Spread evenly onto an oven tray and dehydrate the mixture in a food dehydrator or in an oven (set at the lowest temperature) for around 8-10 hours or until the mixture is dry to touch. Let cool and add the macadamia nuts and sultanas. You're done!


You're set for breakfast for the next 2 weeks! Hooray!


These little clusters are of course delicious with some fruit and yoghurt for your morning food! A perfect start to the day.


How much do you want to dig into this? yummmm


What is your favourite morning food?

Creamy Almond Milkshake

What is better than a milkshake? photo 1

A milkshake that is GOOD for you of course!

My husband has a thing for dairy. He especially LOVES ice cream and milkshakes. Being married to a dietitian though, he doesn't get much approval for it and has to deal with sideways glances from me when he arrives home with a tub of ice cream. It probably has more to do with the fact that now I'll have to exercise self control because I know it is sitting in the freezer waiting for me. So I've had to come up with another plan to satisfy both of our sweet & creamy tooth cravings. And this one does a fine job at that.

photo 2

Ingredients:

- 1 tsp chia seeds - 1 tsp cinnamon - 1 tbs vanilla protein powder - optional (I like Sunwarrior vanilla protein powder) - 10 almonds - 1 tsp almond butter - 1/2 a tsp vanilla bean paste - Half a frozen banana - 1 cup almond milk (I like Australia's Own Almond Milk) - Slivered almonds - Agave syrup

Method:

1. Blend together chia seeds, cinnamon, protein powder and almonds to make a powder. 2. Add almond butter, vanilla paste, banana and almond and blend until smooth and creamy. 3. Top with slivered almonds, cinnamon and a dash of agave syrup if you feel the need for some sweetness :)

Maple Peach Brown Rice Pudding

Need new inspiration for breakfast, late-afternoon snack, or dessert? Look no further than here!!! This is quick, healthy and delish.

Fruit is my favourite food on earth. If I could I would have it for breakfast, lunch, and dinner. Although as a dietitian and a foodie, I feel it is my duty to try other foods as well…*sigh*…tough life! But today I didn’t feel any such obligation when I started to think about my afternoon snack.

I let my love of fruit guide me to the way of a Maple Peach Brown Rice Pudding! Even if you don’t love fruit…you will love this!


Maple Peach Brown Rice Pudding Ingredients ½ cup cooked brown rice ¼ cup coconut cream* 1 tsp pure vanilla extract 1 peach Maple syrup to taste – I used 1 tsp

Combine all ingredients and ¾ of the peach in a blender and blend until smooth. Serve with remaining peach and a drizzle of maple syrup.

*for low fat version use reduced fat coconut milk/soy/almond/oat milk instead.     

If you feel you want something creamy and luscious on top...I recommend this vegan cream recipe! It's the perfect accompaniment!

This pudding is also great for our vegan friends and those that need a gluten-free, dairy-free, nut-free or soy-free option!

And for those interested in the nutritional info, here it is:

Energy: 974 kJ Fat: 5.3g Carbs: 39.7g Fibre: 3.8g Sugar: 13.9g Protein: 4.1g

Fill in the blank: My favourite food is ________