LIZANNE MARR

IBS & Gut Health Dietitian

Filtering by Tag: nuts

Going nuts for nuts!

Nuts,  the perennial of life for any vegetarian, has now been proven above its other feats to have life prolonging capacity.

Having long been known as nutritious (and by many health conscious as a “superfood”) these little guys were previously known to lower cholesterol and diminish insulin resistance.

Most of these claims were met with scepticism, with the most common question being – ‘how does lowering cholesterol or improving insulin function really even help me?’.

Published last month in The New England Journal of Medicine, was  the largest prospective study to date on nut consumption. With 76 464 women and 42 498 men, the authors concluded that those who ate nuts less than once per week had a 7% decrease in mortality and those who ate nuts up to 7 times per week had a 20% reduction!! And that goes for any type of nut too.

Good news right? Great news you say ……especially for those of you aiming to push past 95 and spend every last waking hour squeezing a bit more out of life. But what about those who are more stuck in the reality of the next few years rather than the twilight of time? Maybe you hate the though of living out your life in a hospital bed or rattling with pills into old age? There's more good news!

The study also showed associations with lower rates of cancer, respiratory ailments and heart disease.  And possibly the best part …increased nut intake was associated with less weight gain (contrary to popular belief). LESS weight gain! Yes you did read that right. Reduced waist circumference, and reduced risk of obesity.

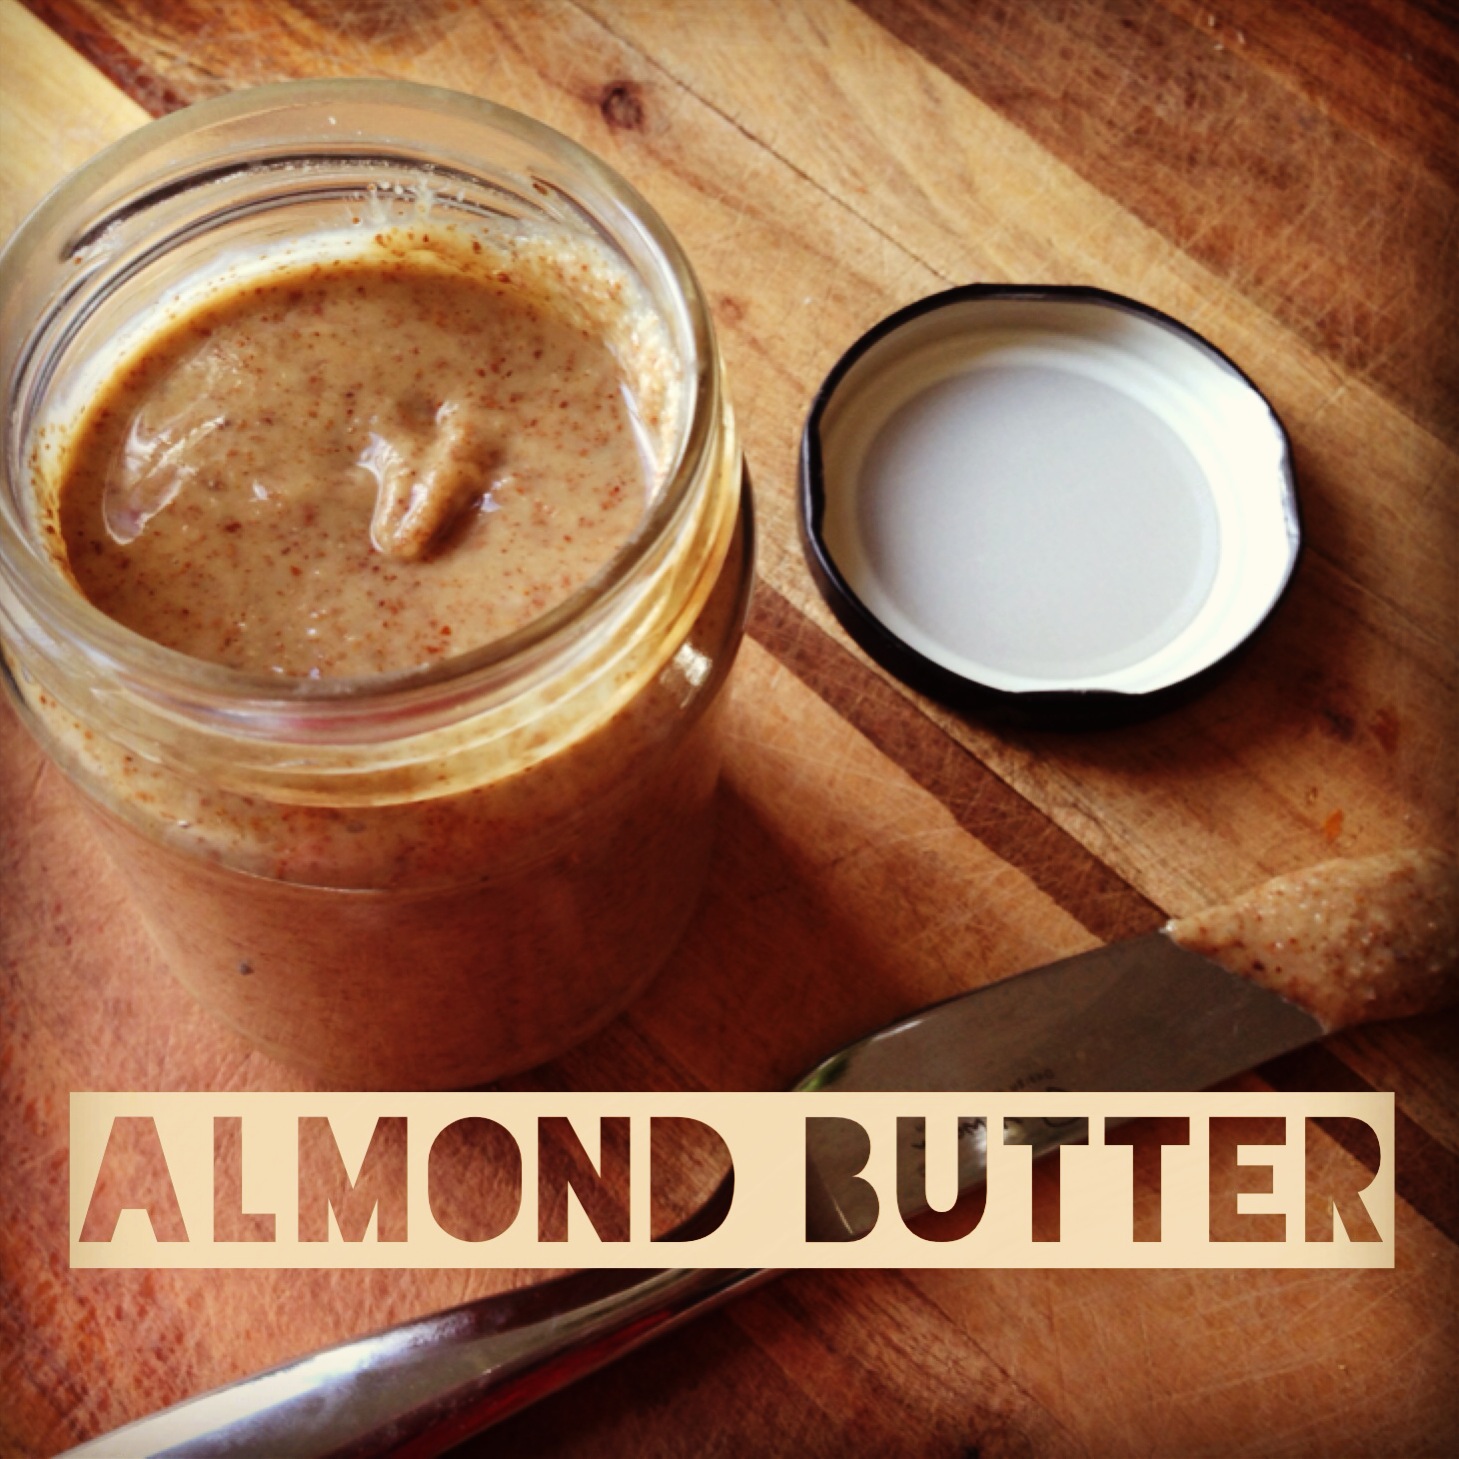
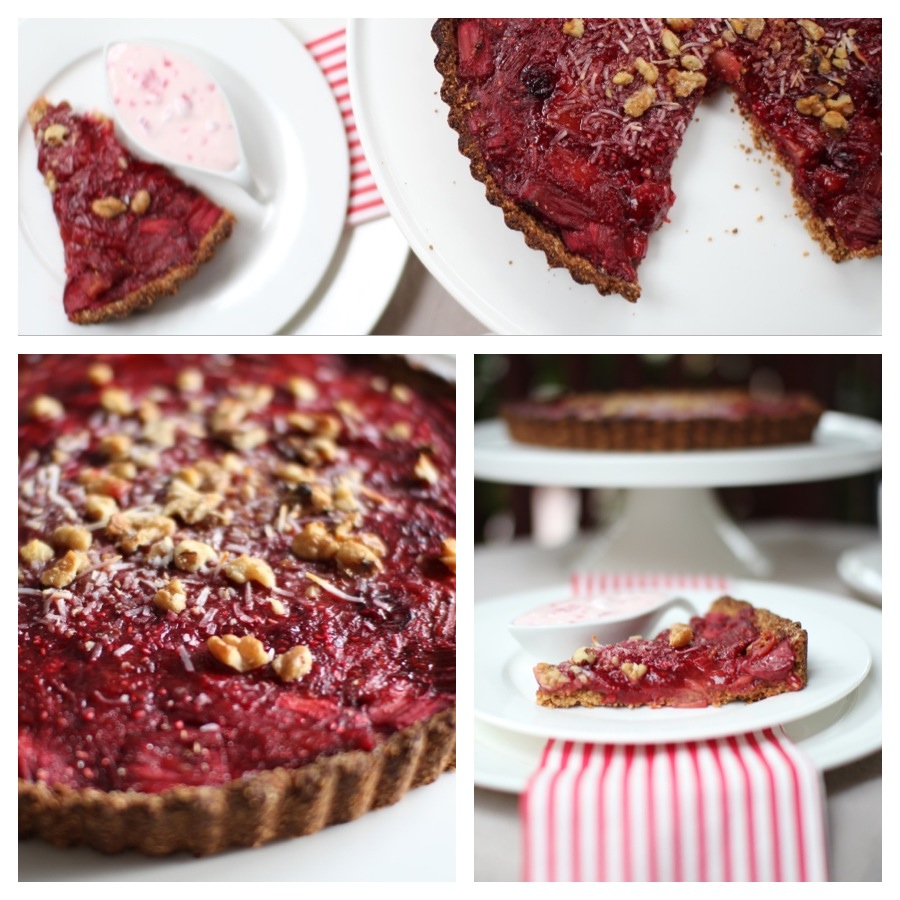
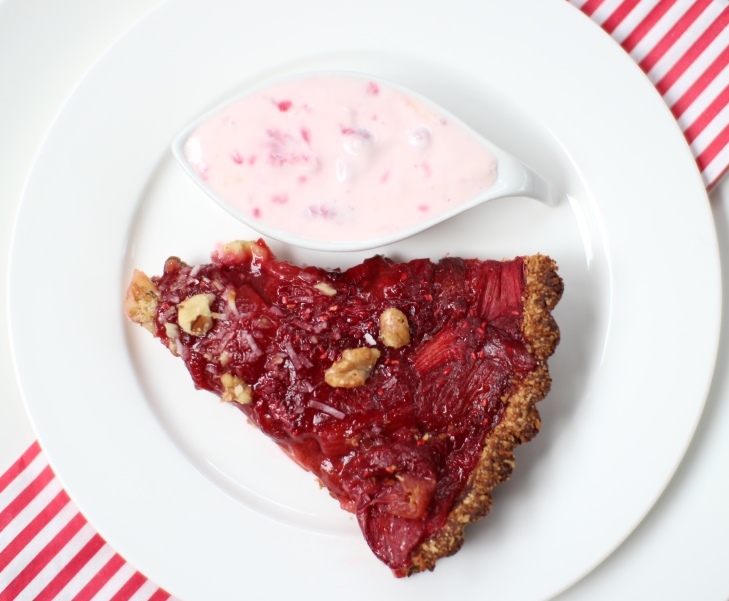
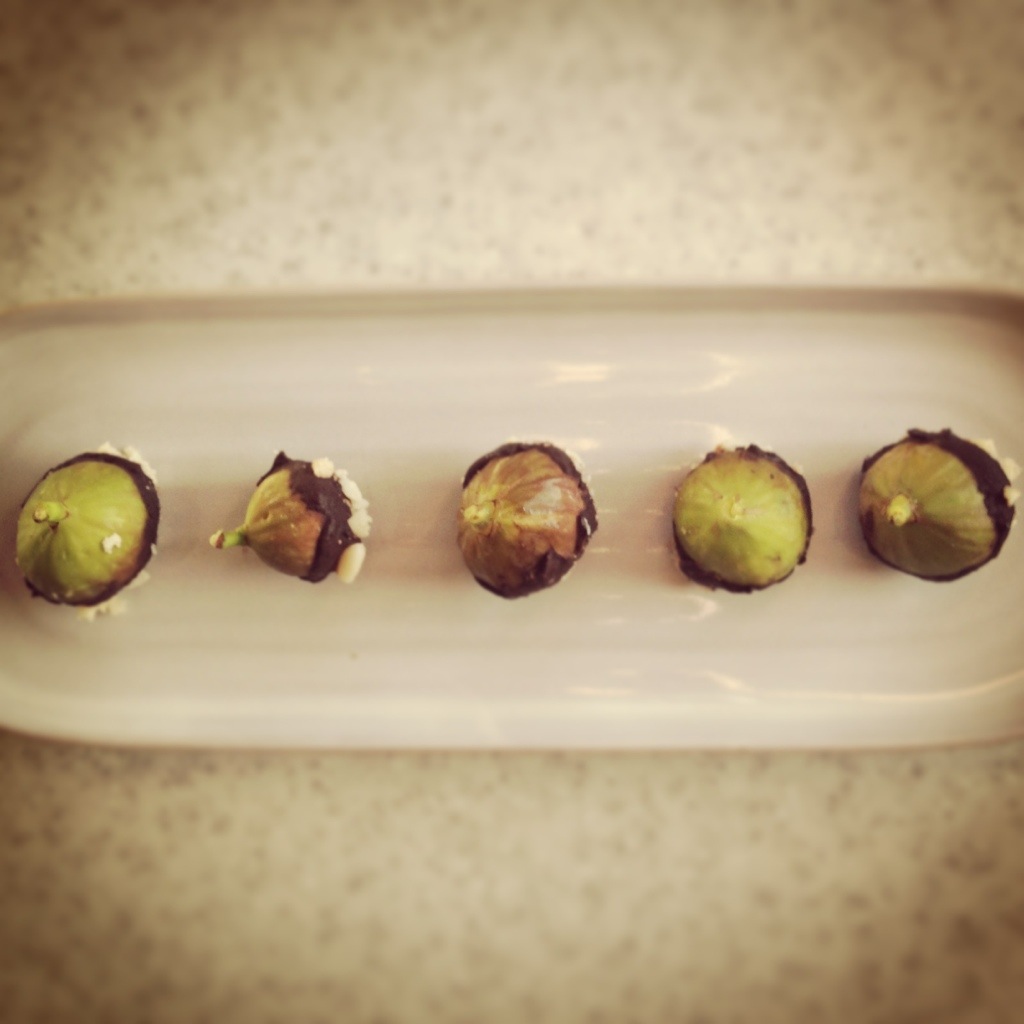
So ready set go. To your pantry scrabbling for that packet of almonds bought last year and inhale your 28 grams for the day. Alternatively you could always click on the links below and creatively consume your portion.

Easy Homemade Almond Butter

I can't believe I have only just discovered the wonderful world of making my own nut butter. I didn't realise it is so easy to do! If you're a nut butter lover like me, you probably go through a jar per week - which can work out to be an expensive addiction in the long run. I like to slather it on most things - oats in the morning, smoothies, fruit, dates - the possibilities are endless! By making your own nut butter you're saving at least 50%. If you live in Australia a jar of nut butter bought at Woolworths costs anything from $7 up, but only costs around $4 if you make the equivalent amount at home. Yippee!!

Why bother you ask? Well.......

Nuts are a really good source of "healthy fats" which has been shown to be beneficial for your heart and also your brain (if they're the omega-3 type of oils). Nuts are also high in protein and high in fibre - which is perfect for keeping you full and curbing cravings for sugary snacks. By grinding your nuts into a nut butter you've just opened up a whole new world of possibilities...no more boring trail mix for snacks! You can use it as a spread on this bread with some banana and honey. You can add into smoothies like this one. You can spread on fruit for a snack or fill a medjool date - my favourite!! You can even add it to ice-cream - yum!! Endless fun to be had. Best of all, it is really easy to make.

Ingredients (makes one small jar of nut butter)

2 cups of almonds (or add in a mix of nuts like brazil nuts, cashews, sunflower seeds, chia etc.) Optional additions: 2 tablespoons of oil (coconut or macadamia), maple syrup

Method

Add nuts to a blender and blend on high to form a "flour" consistency. Then blend on medium speed until creamy and buttery. It is that simple! Really! All you need is a little patience. The process usually takes between 10 to 15 minutes for 2 cups of nuts. If you don't have a high power blender the process may take up to 20 to 25 minutes. You may need to stop the blender and scrape down the sides of the blender every now and then. The main thing is to be patient. At first the consistency will become floury, then crumbly with some moisture, and then finally the buttery silky consistency will start to appear. If you want a deeper toasted and creamy texture you can roast your nuts for 5 to 10 minutes in the oven before blending. However, I like to have raw nut butter. It is really up to you.

Now go spread that nut butter on something...

Rhubarb & Raspberry Tart

Rhubarb is really in right now. Especially since it's winter here in Australia. So I made a rhubarb and raspberry tart to celebrate (healthy style of course!). Here's how I did it.

Ingredients - Makes one delicious tart

Base 1 ½ cup oatmeal ½ cup shredded coconut ½ cup almonds or macadamia nuts 3 tablespoons coconut oil (or 2 ½ tbsp. almond/macadamia/olive oil) 2 tablespoons maple syrup

Filling 5 stalks rhubarb (chopped) 1 cup frozen raspberries 1 large pear (chopped) 3 tablespoons honey/maple syrup/agave (or stevia equivalent for sugar-free diets) 2 tablespoons arrowroot 1 teaspoon vanilla extract

Topping ¼ cup shredded coconut 2 tbsp. coconut sugar 2 tbsp. chopped walnuts

Method Preheat oven to 200 degrees Celsius. Using a food processor, lightly process the oatmeal, coconut, and nuts until the nuts are just broken. Add the oil and syrup and pulse until the mixture is combined enough to stick together. Press the mixture firmly into a tart tin using clean fingers. Place in a hot oven and bake for 8 to 10 minutes or until slightly golden.Meanwhile, heat a saucepan on medium heat and add raspberries and chopped pear. Using a potato masher, squash the fruit to release juices. Stir in the syrup and vanilla until combined. Add the rhubarb and cook for approximately 10 minutes, stirring the contents to prevent it from burning. Once the rhubarb becomes soft and starts to disintegrate take off heat and add the arrowroot to thicken the mixture. Cool slightly.

Pour rhubarb mixture into tart base and spread evenly to cover pastry. Place in the oven and reduce heat to 180 degrees Celsius. Combine the ingredients for the topping and sprinkle over tart after 20 minutes of baking. Bake for another 5 to 10 minutes. Remove from oven and eat warm with coconut ice cream. Heaven!!

This one was eaten with Greek yoghurt, crushed berries and honey, but the flavours in your mouth turn into a party when paired with some homemade or store-bought coconut ice-cream.

Are you licking your screen yet? Go and make it NOW! :)